DIY Bathroom Remodel Going from One Sink to Two: 22 Ideas

Why a DIY Bathroom Remodel Adds a Second Sink
A DIY bathroom remodel going from one sink to two gives couples, families, and roommates breathing room every busy morning. These 22 ideas guide you from measuring to the reveal.
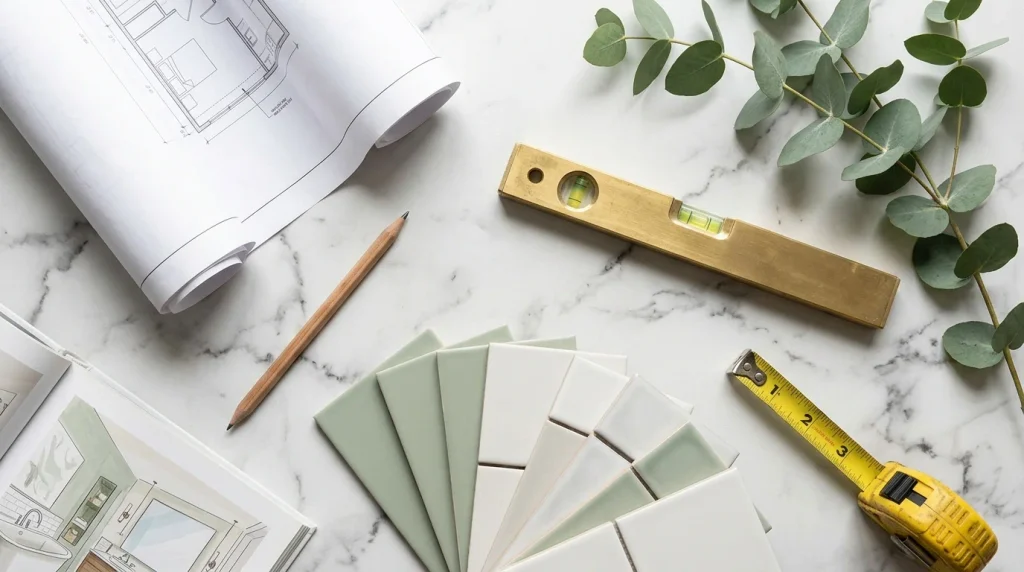
Browse more bathroom decor ideas for style inspiration, then pick the DIY bathroom remodel ideas below that match your budget, skills, and space. Every project includes steps and safety notes.
Plumbing and wiring need care, so shut off water and power first, follow local codes, and hire a licensed pro for tasks that feel risky. Safe work always beats speed.
| Layout | Typical Wall Width | Best For | DIY Level |
|---|---|---|---|
| Ready-made double vanity | 60 to 72 inches | Fast, simple installs | Easy to medium |
| Dresser turned vanity | 60 inches or more | Vintage, custom character | Medium to hard |
| Two pedestal sinks | 60 inches or more | Open floors, classic style | Medium |
| Trough sink with two faucets | 48 inches or more | Modern farmhouse bathrooms | Medium |
| Floating double vanity | 60 inches or more | Small rooms, clean floors | Medium |
| Narrow vanity pair | About 48 inches | Tight spaces with less elbow room | Medium |
Plan Your One Sink to Two Switch Like a Pro
1. Measure Wall Space for Two Sinks First
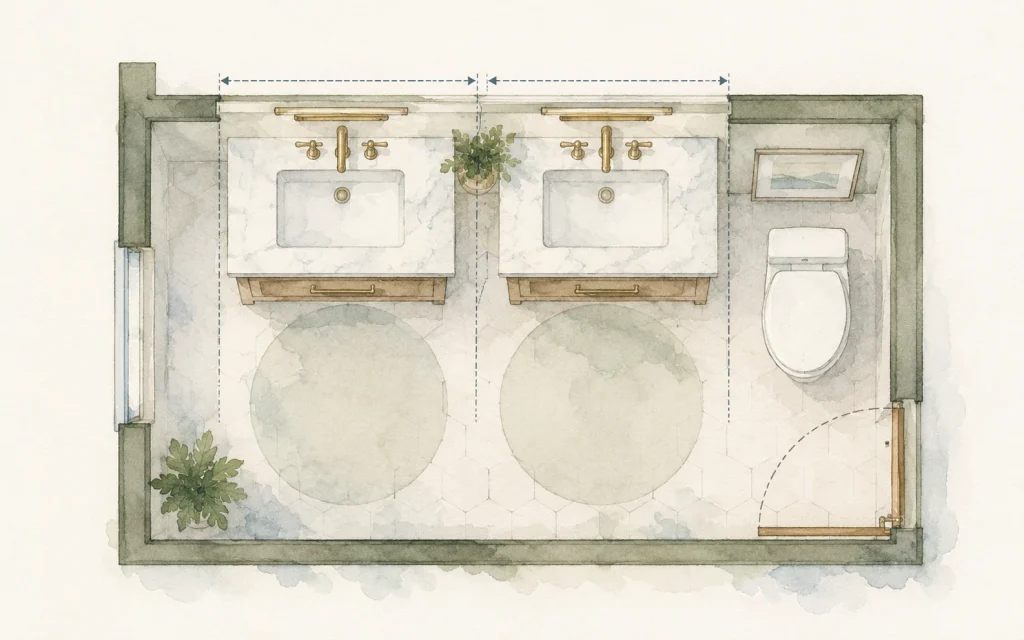
Start any DIY bathroom remodel going from one sink to two by measuring wall width. Common guidelines suggest sixty inches for a double vanity, so confirm your space before shopping.
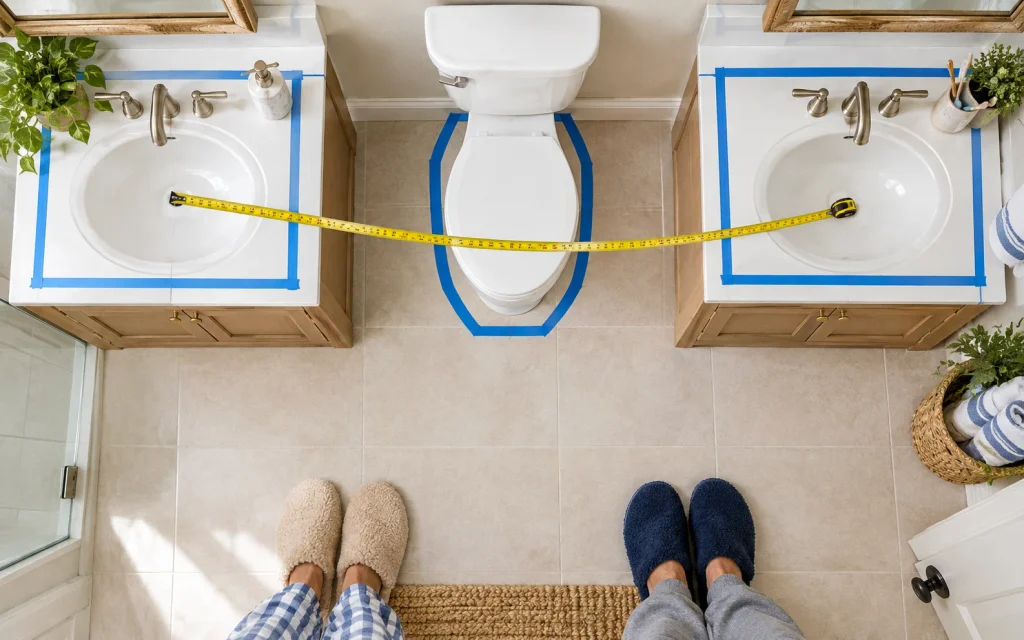
Measure from corner to corner, then note windows, doors, and radiators. Also plan about thirty inches between sink centers and fifteen inches from each center to a nearby side wall.
Mark everything with painter’s tape on the floor and wall. Stand in the taped space with a partner and mimic brushing teeth together, because comfort really matters more than numbers.
2. Map Plumbing Lines Before Any Demolition
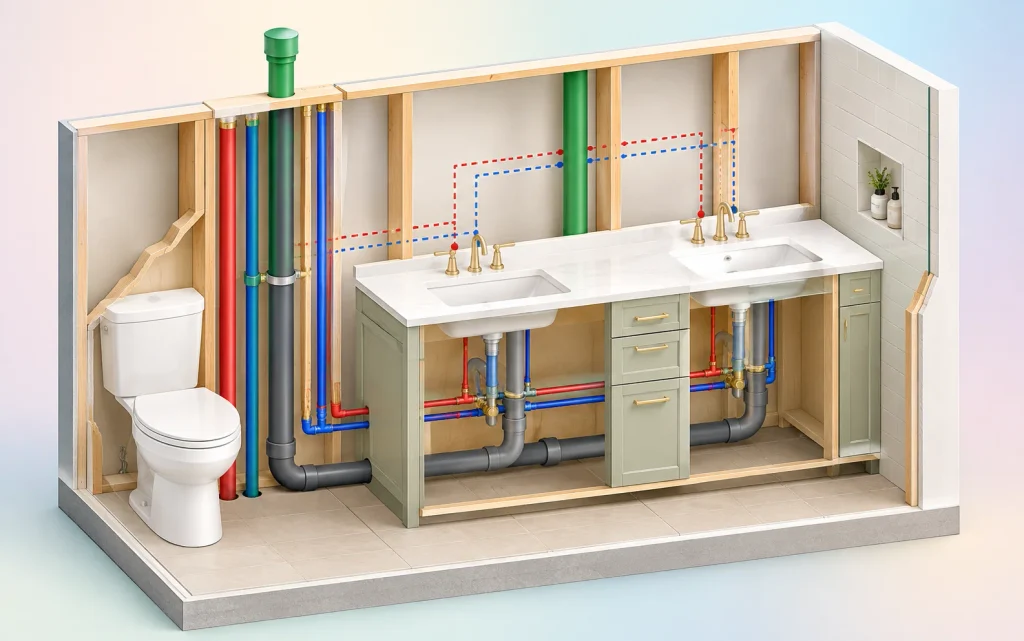
Before demolition, locate the existing water supply lines, drain, and vent. A second sink usually needs extra supply branches and a drain connection, so mapping them early prevents expensive surprises.
Shut off the water, open the vanity, and photograph every pipe. Many DIYers tie two traps into one drain line, yet local plumbing codes decide exactly what is legally allowed.
Call your building department about permits before cutting any pipe. Many areas require inspections for new plumbing, and a quick phone call saves headaches, fines, and costly rework later on.
3. Sketch a Double Sink Layout on Graph Paper
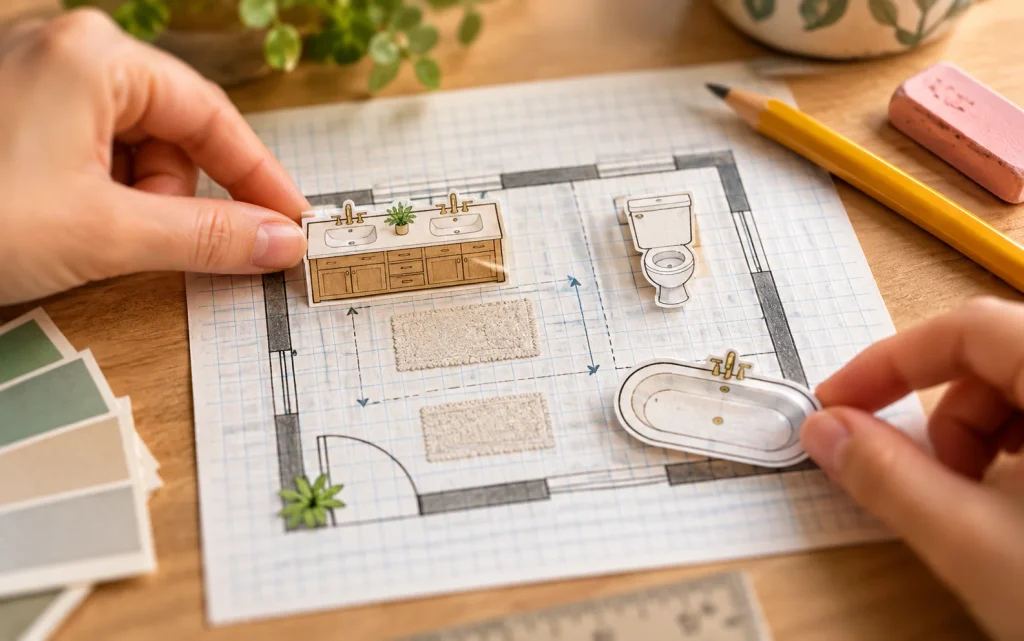
Graph paper turns guesswork into a clear plan. Let each square equal two inches, draw your walls, then slide paper cutouts of vanities, toilets, and tubs around until traffic flows.
Keep the toilet away from direct sink traffic, and leave about thirty inches of clear floor in front of every fixture. Doors should swing open without hitting any vanity cabinet.
Take your sketch to a friend or hardware store staff for a second opinion. Fresh eyes often spot tight corners, awkward door swings, or missing outlets before you spend money.
4. DIY Bathroom Remodel on a Budget Basics
A DIY bathroom remodel on a budget starts with a firm number and a priority list. Spend first on plumbing, waterproofing, and the vanity, then save on decor and paint.
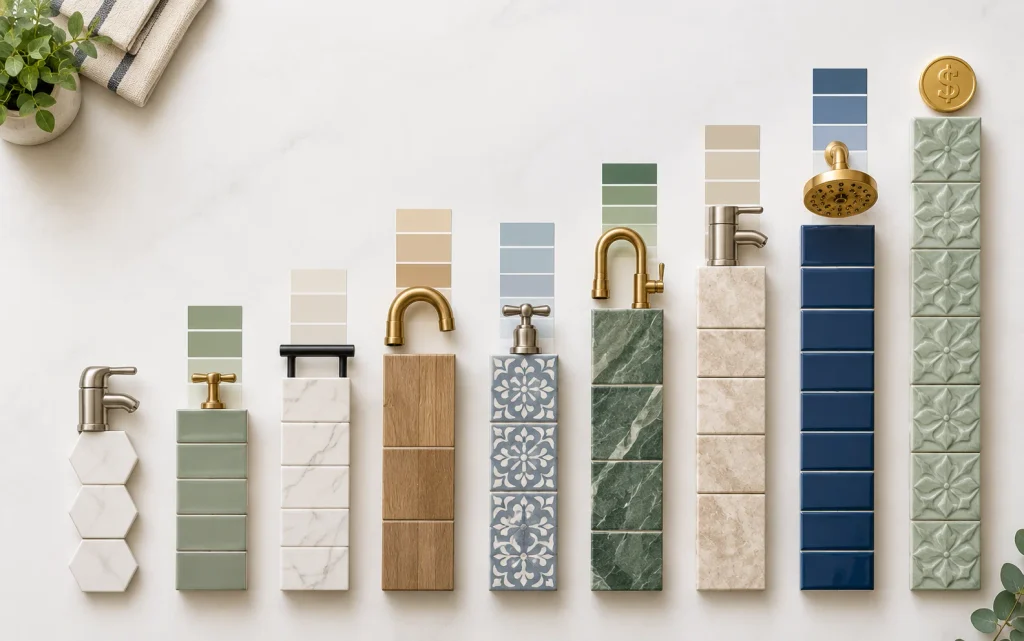
Compare prices for tile, vanities, and fixtures, then check clearance aisles, open-box deals, and local resale stores. Buying a matching vanity set can cost less than assembling many separate pieces.
Keep a ten percent cushion for surprises like rotten subfloor or outdated pipes. Track every receipt in a notebook, and pause any purchase that does not support your original plan.
budget
Double Vanity and DIY Bathroom Remodel Ideas
5. Buy a Ready Made Double Vanity Cabinet
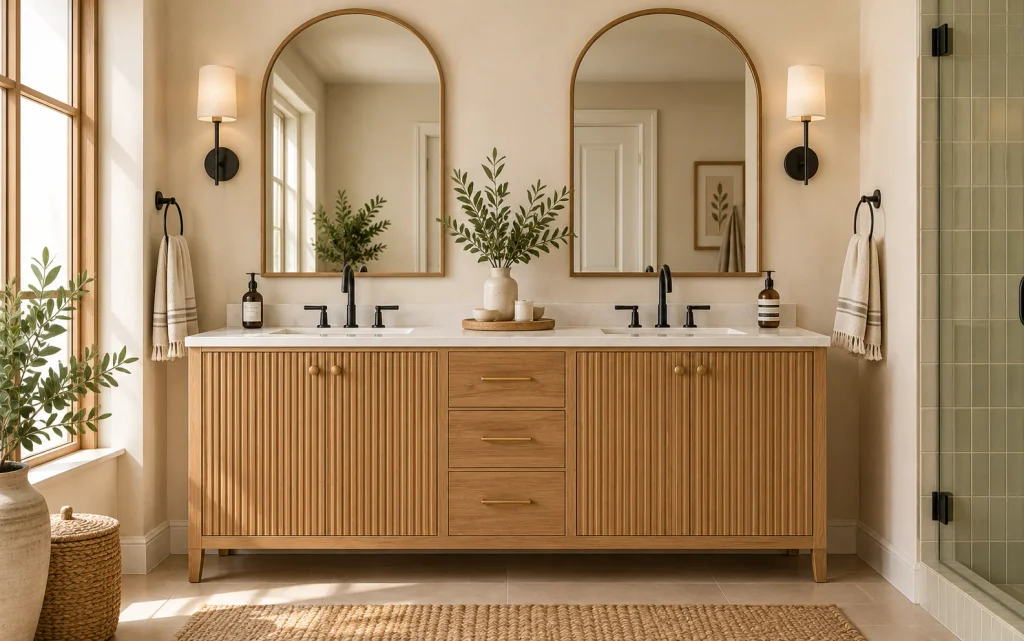
A ready-made double vanity is the simplest route when you want two sinks fast. The top, basins, and cabinet arrive together, which reduces cutting, sealing, and measuring mistakes for beginners.
Choose a vanity between sixty and seventy-two inches wide, with two drawer banks or a center storage tower. Check faucet hole spacing, and confirm the drain positions match your pipes.
Set the cabinet level with shims, anchor it to wall studs, then caulk the backsplash seam. Install hot and cold shutoff valves at each faucet for easier repairs later on.
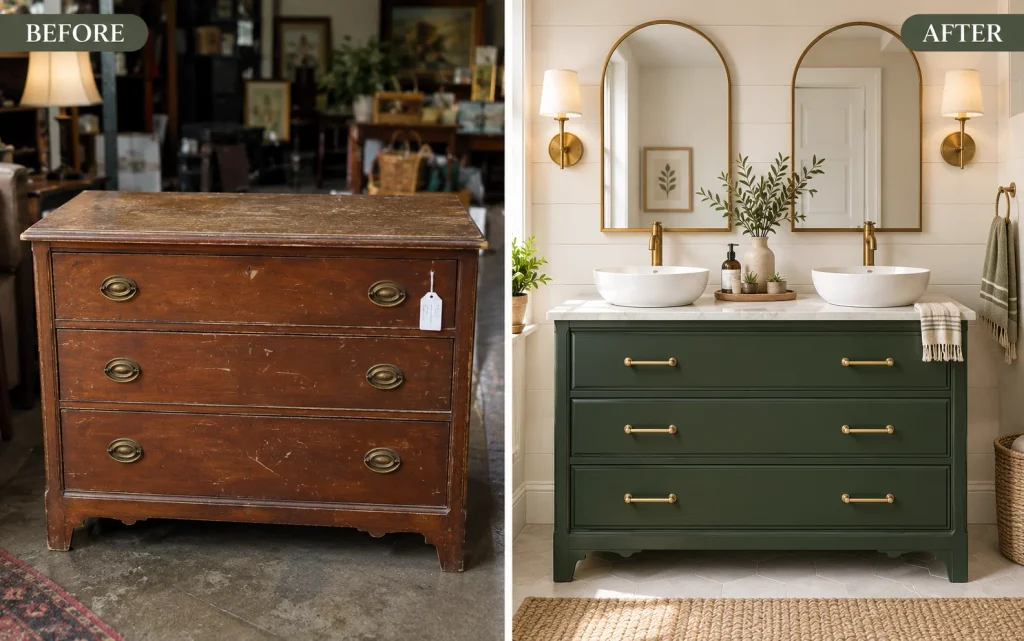
6. Turn a Dresser Into a Two Sink Vanity
An old dresser can become a charming two-sink vanity with creativity and patience. Look for solid wood pieces at least sixty inches wide with deep drawers and sturdy square frames.
Seal the wood with marine varnish, cut the top for two vessel sinks or drop-in basins, and trim drawers around pipes. Measure three times, because every cut is truly permanent.
Paint the base in deep green or navy, add brass pulls, and finish with a stone or butcher-block top. Seal every edge with silicone so moisture never reaches raw wood.
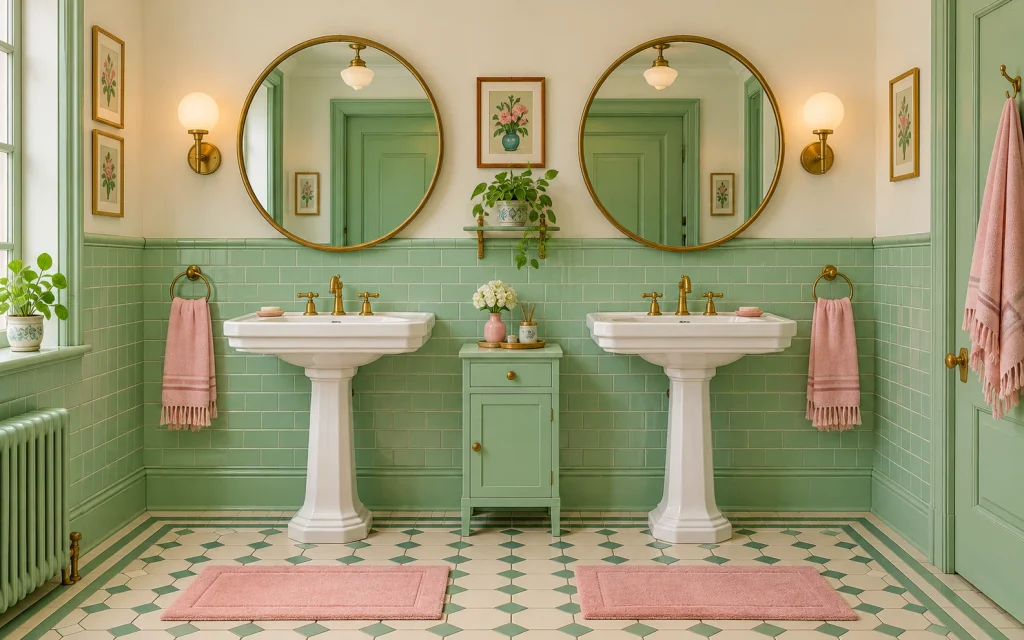
7. Pair Two Pedestal Sinks Along One Wall
A DIY bathroom remodel pedestal sink pairing feels classic, airy, and open. Two pedestals hide plumbing neatly and keep the floor visible, which makes smaller bathrooms look much bigger overall.
Space the pedestals about thirty inches center to center, and anchor each basin to solid wall blocking. Pedestals hide pipes and add support, but the wall firmly holds everything steady.
Hang a long mirror or two matching mirrors above them and add slim shelves between the basins. Chrome, nickel, or matte black faucets all pair beautifully with classic white porcelain.
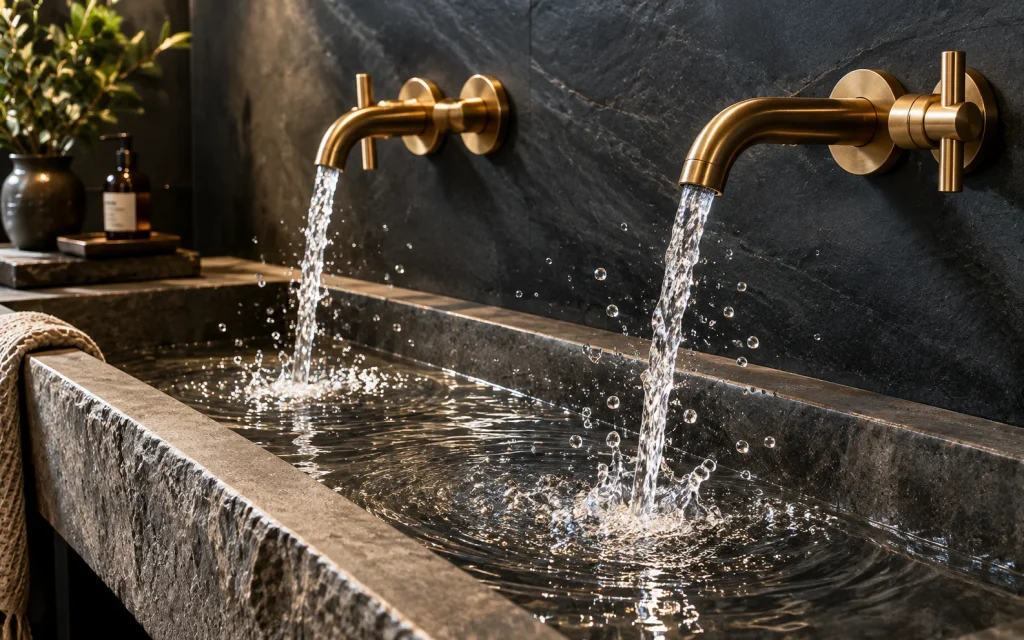
8. Install a Trough Sink With Two Faucets
A trough sink gives two faucet zones inside one long basin. It feels roomy, suits modern farmhouse bathrooms, and often needs fewer countertop cutouts than two separate sinks would require.
Choose a trough at least forty-eight inches long, then wall-mount the faucets for a sleek look. Check the drain count, because some basins use one drain and others use two.
Seal the trough to the countertop with mildew-resistant silicone and tighten all connections by hand plus a quarter turn. Run water for several minutes and inspect every joint for drips.
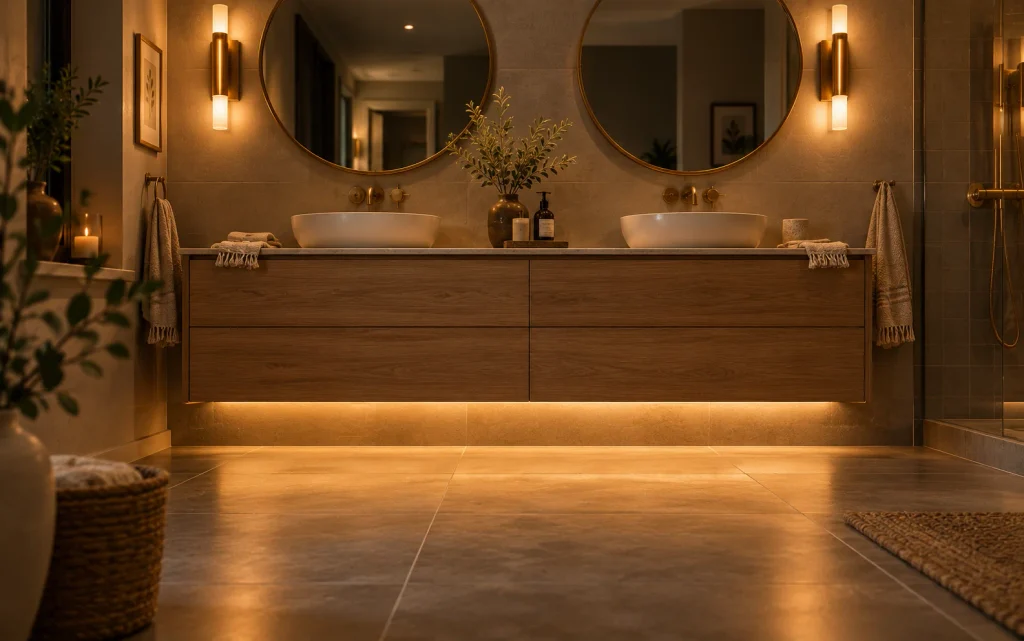
9. Mount a Floating Double Vanity Cabinet
A floating vanity opens the floor and makes small bathrooms feel larger and easier to clean. A wall-hung double vanity also shows off floor tile and invites soft under-cabinet lighting.
Locate studs or add blocking, then fasten the manufacturer’s mounting rail with structural screws. Two sinks plus stone tops are heavy, so never rely on thin drywall alone for support.
Keep the vanity about thirty-two to thirty-six inches high, and run supply lines through cutouts in the back panel. Add LED strips underneath for a soft, modern, welcoming night glow.
DIY Bathroom Remodel Tile Walls and Floors
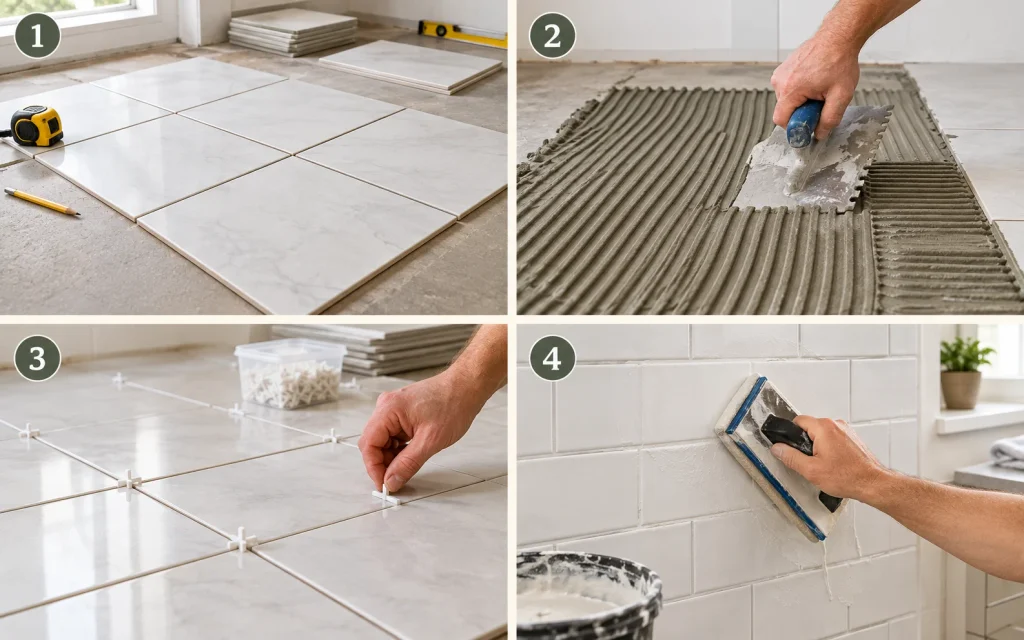
10. Tile Walls Behind Both Sinks Like a Pro
A DIY bathroom remodel with tile walls protects drywall and instantly looks luxurious. Start behind the sinks, where splashes land every day, and extend upward to a comfortable visual height.
Find the center line, dry-lay tiles on the floor, and mark cut lines. Use cement backer board in wet zones, spread thinset with a notched trowel, and wipe haze quickly.
Choose white subway, zellige, or fluted tile for timeless style. Let adhesive cure per the package, grout with a mildew-resistant mix, and seal grout lines to repel splashes and water.
11. Peel and Stick Tile for a Fast Backsplash
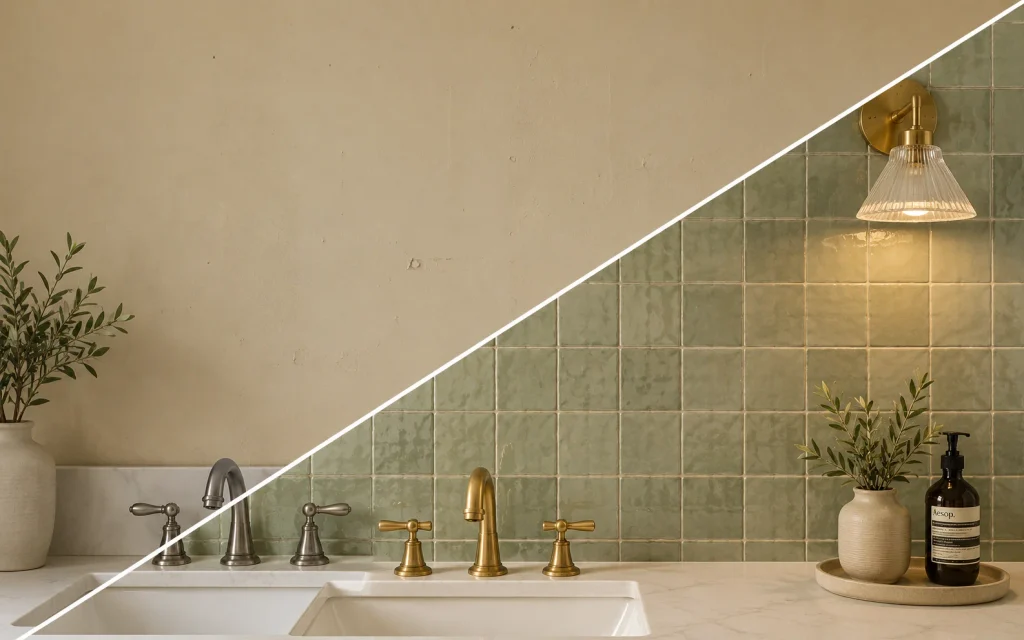
For a quick DIY bathroom remodel, peel and stick tile works wonders behind vanities. Thin gel or vinyl tiles install in an afternoon without grout, mortar, or any heavy tools.
Clean the wall, prime glossy paint, and start from a level line. Press each tile firmly, work outward from the center, and trim edges with a sharp utility knife blade.
Keep tiles away from direct heat and standing water, and caulk the top and bottom edges. Many renters use peel and stick tile because most pieces remove with gentle heat.
12. Paint Walls With Mildew Resistant Paint
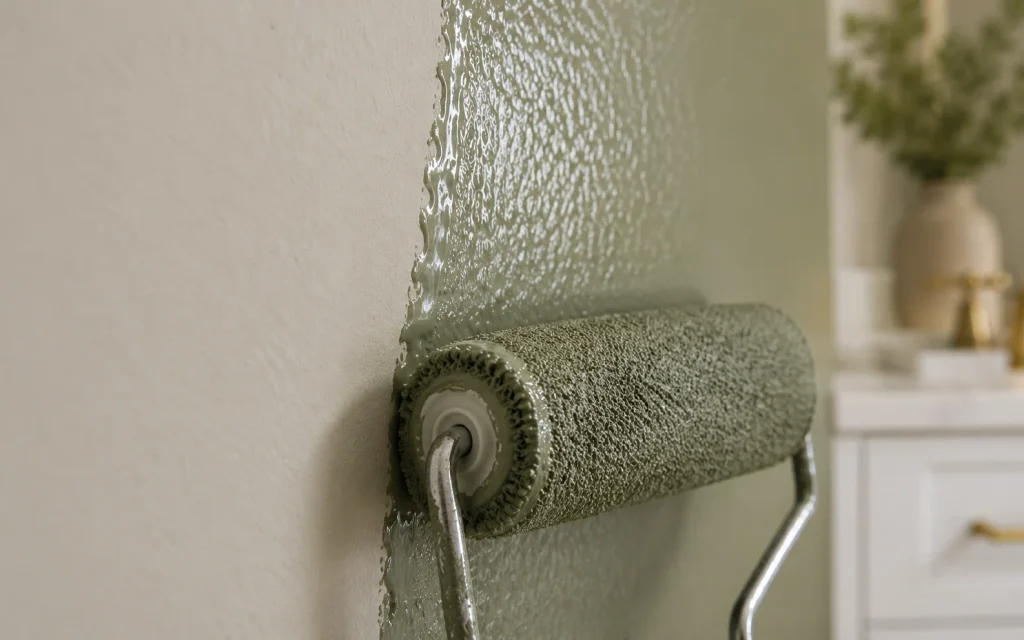
Fresh paint costs little and changes everything, but bathrooms need the right formula. Choose mildew-resistant, moisture-ready paint in satin or semi-gloss so steam and splashes wipe away cleanly without peeling.
Wash walls, patch holes, sand lightly, and prime stains. Cut in around mirrors and trim first, then roll two thin coats, allowing each to dry fully before you continue painting.
Deep sage, warm greige, and soft blue make double-sink bathrooms feel calm. Run the exhaust fan during and after showers so moisture never lingers on your fresh, beautiful paint job.
13. Lay Vinyl Plank Floors Over Old Tile
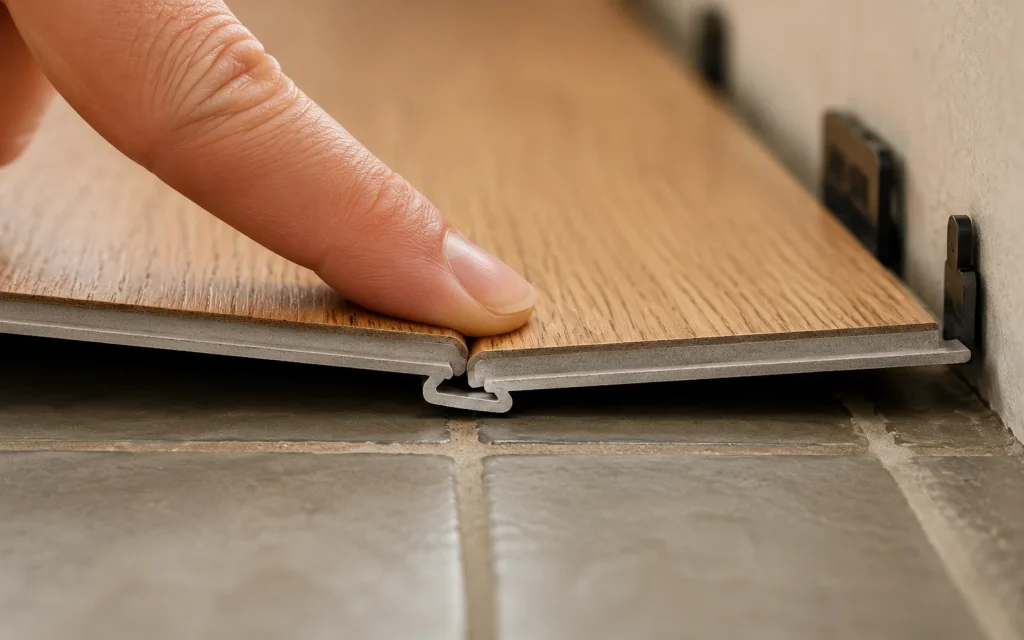
Waterproof vinyl plank can cover outdated tile in a weekend. It adds warmth underfoot, and click-lock boards float across the floor without nails, glue, or demolition, saving time and money.
Fill deep grout lines with leveling compound, then check the floor for flatness. Leave a quarter-inch gap at the walls, cut planks with a utility knife, and snap boards together.
Leave an expansion gap at every wall and cabinet edge, then hide it with trim. Floating floors need room to expand and contract, so never pin planks under heavy vanities.
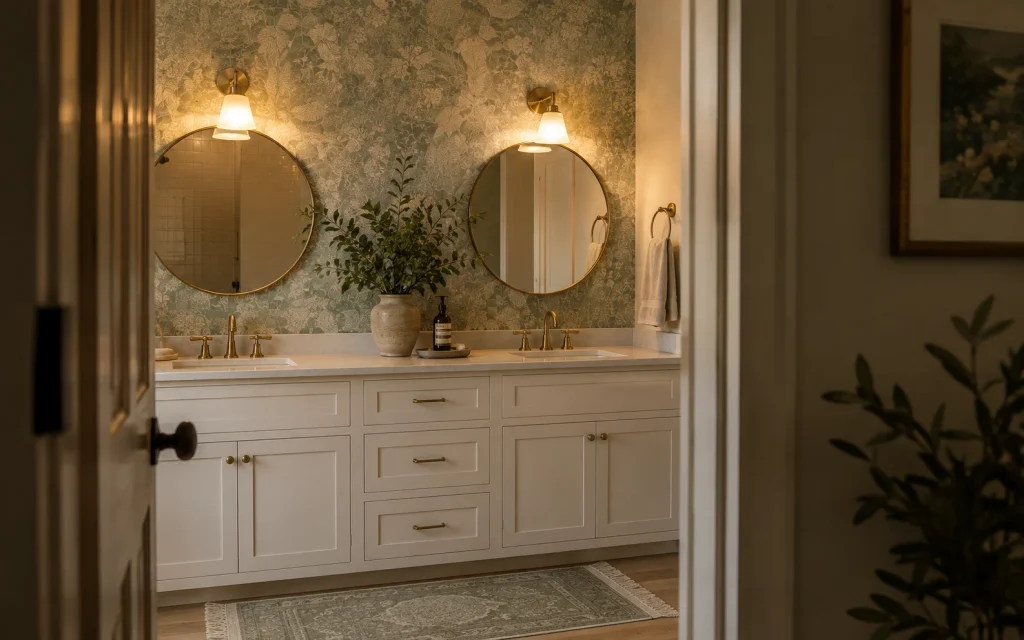
14. Hang Wallpaper Behind a Double Mirror
Moisture-safe wallpaper adds lively personality behind a double vanity. Choose vinyl-coated or peel-and-stick designs made for bathrooms, and keep them well away from direct shower spray and any standing water.
Measure the wall height, add two extra inches for trimming, and match the pattern before cutting. Smooth each strip with a squeegee, pushing bubbles toward the edges as you work.
Pick botanical prints, soft stripes, or tiny geometrics for calm energy, and let the mirror frames match one color in the paper. Seal seams with a thin line of caulk.
DIY Bathroom Remodel Shower Walk In and Tub
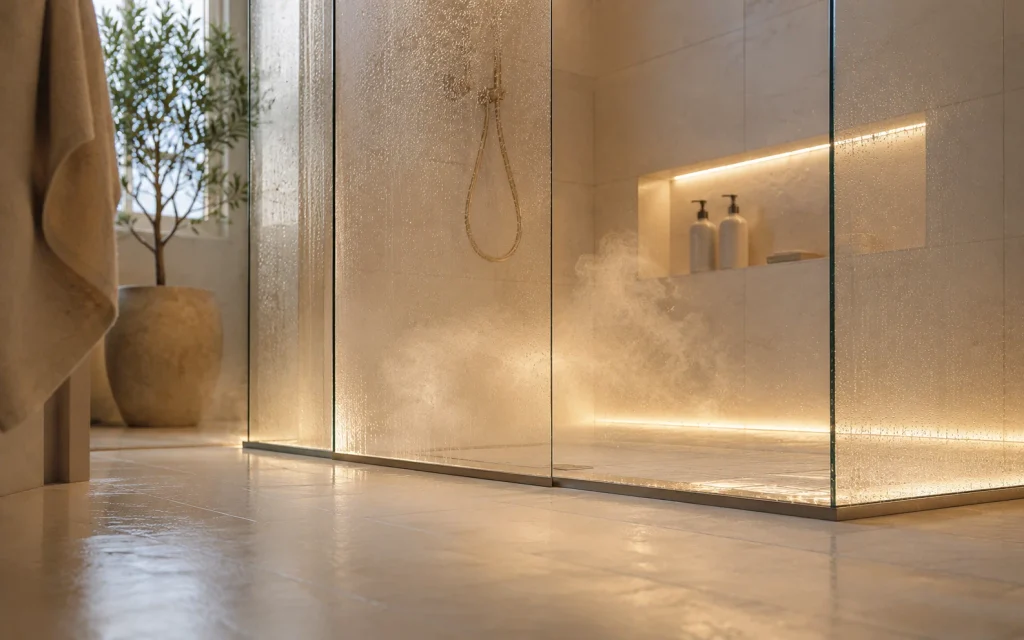
15. Add a Walk In Shower With Glass Panel
A DIY bathroom remodel shower walk in design opens the room and welcomes easy access. A single fixed glass panel keeps water inside, looks sleek, and needs no swinging door.
Waterproofing is the critical step, so use a proper membrane, seal every single seam, and flood-test the pan before tiling. Consider hiring a pro for shower pans, drains, and slopes.
Choose large-format tile to reduce grout lines, add a built-in niche for bottles, and slope the floor toward the drain. Tempered safety glass should be installed by careful, experienced hands.
16. Place a Claw Foot Tub Beside Two Sinks
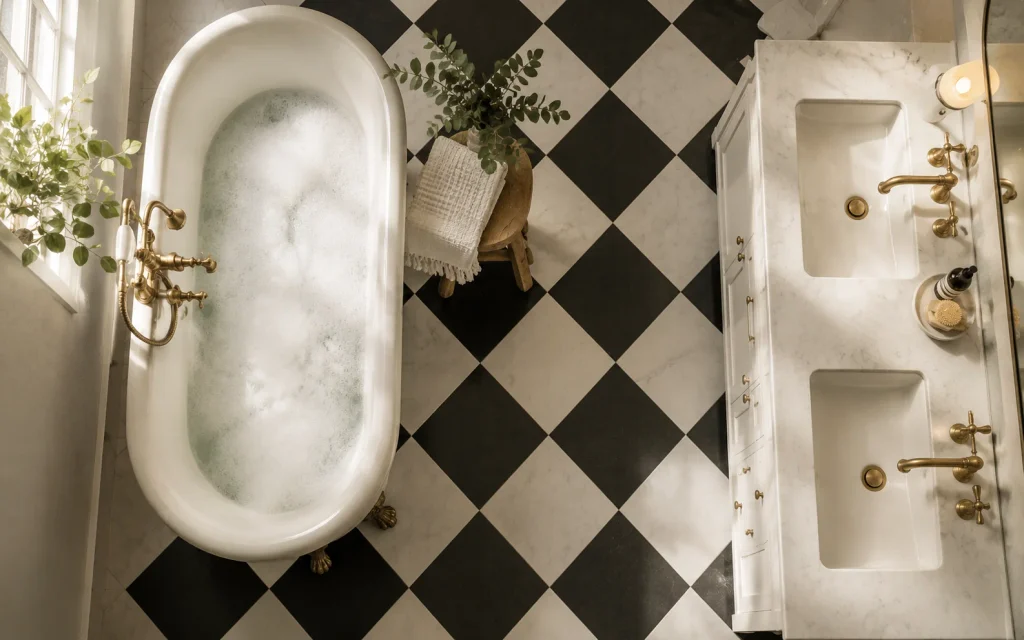
A DIY bathroom remodel claw foot tub adds vintage romance beside a modern double vanity. The freestanding shape shows off the floor, and the contrast feels truly photogenic on camera.
Measure the tub footprint and leave comfortable room to clean around its sides. Floors must support the weight of a filled cast iron tub, so always check joists carefully first.
Pick a floor-mounted or wall-mounted faucet kit, connect flexible supply lines, and test slowly. Black feet, brass fixtures, or chrome details can echo the finishes you chose for the sinks.
Renter Friendly and Half Bath Remodel Ideas
17. Renter Friendly Swaps for a Second Sink
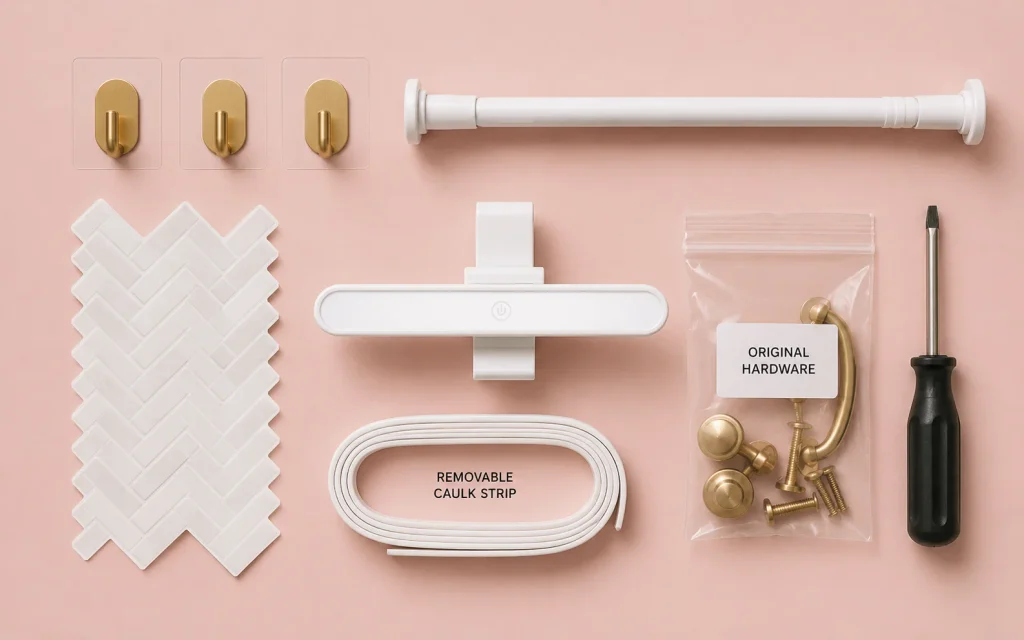
A DIY bathroom remodel renter friendly style cannot change plumbing, so create a second sink zone instead. Ask your landlord first, then add a lighted mirror, caddy, and towel hooks.
Use removable hooks, tension rods, and adhesive trays to give each person a labeled space. A counter tray divides one vanity top into two tidy, comfortable zones for morning routines.
Swap dated knobs, faucets, and light shades using basic hand tools, and keep the originals in a labeled bag. Rental deposits stay safe when every change is easy to reverse.
18. Use a Narrow Vanity Pair in a Small Bath
Two narrow vanities side by side can create a compact double sink look in a tight bathroom. Pairs of twenty-four inch cabinets total forty-eight inches, which fits many standard walls.
Expect less elbow room, since sink centers will sit closer than ideal. Choose slim basins, wall-mounted faucets, and a central mirror, so both people still move comfortably together every morning.
Leave a gap between cabinets for a small shelf or filler panel, and use shallow drawers that clear the plumbing. Matching hardware makes the pair look like one custom piece.
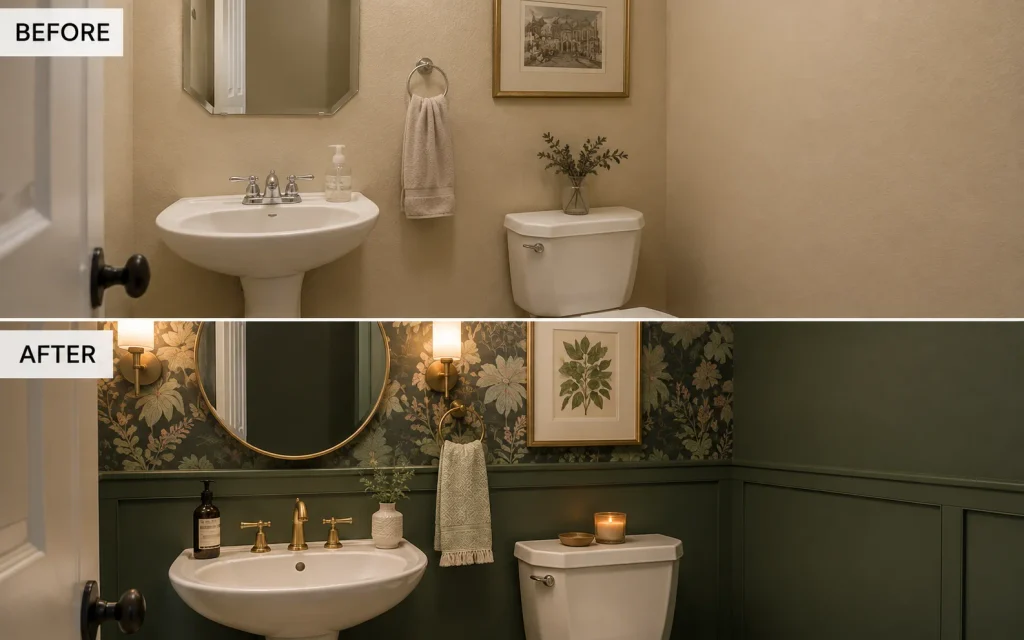
19. Refresh a Half Bath Before Adding Sinks
A DIY bathroom remodel half bath project teaches skills in a small, forgiving space. Start there before a bigger double-sink master bath, and practice plumbing, tiling, and painting on a budget.
Swap the old toilet seat, vanity, faucet, and mirror, then add a bold wallpaper or paint color. Small rooms handle dramatic style well because guests usually spend only minutes inside.
If your half bath is wide enough for sixty inches of vanity, a double basin is possible. Otherwise, choose one deep basin, wall-mounted faucet, and plenty of towel storage nearby.
Bathroom Remodel Inspiration Ideas to Finish
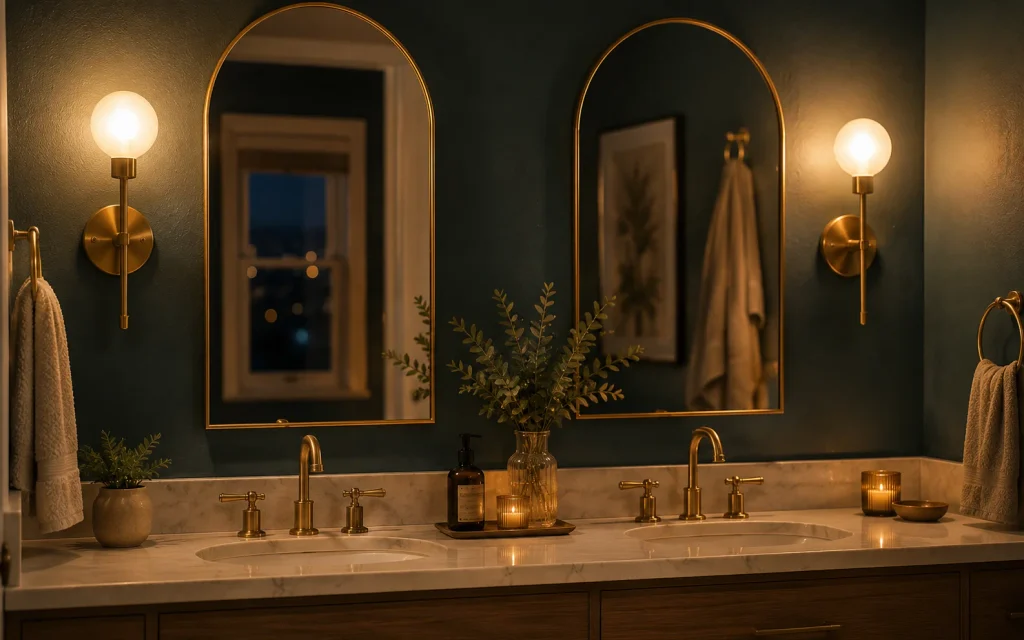
20. Light Both Sinks With Matching Sconces
Good lighting makes a double vanity useful. Place wall sconces on both sides of each mirror, about sixty-six inches above the floor, so faces glow evenly without any harsh shadows.
Choose damp-rated fixtures and warm bulbs around 2700 Kelvin, or slightly cooler 3000 Kelvin for makeup tasks. Turn off the breaker, and hire a licensed electrician for any new wiring.
Add a dimmer for late-night visits, and keep switches within easy reach. Bathroom outlets must always be GFCI protected, so ask a qualified pro if your current ones are outdated.
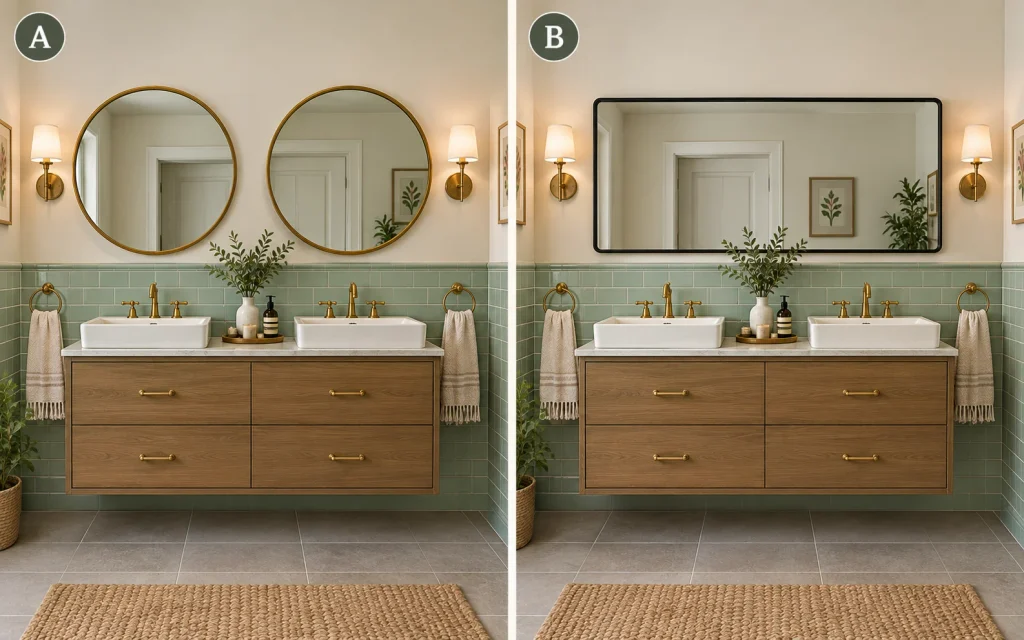
21. Hang Two Round Mirrors or One Wide Mirror
Mirrors truly define the personality of a double vanity. Two round mirrors feel soft and trendy, while one wide rectangle makes the whole wall look continuous, generous, airy, and bright.
Center each mirror over its sink, leaving a few inches of wall between frames. Mount with heavy-duty anchors or French cleats, so reflections line up with each person’s eye level.
Pick black, brass, or natural wood frames to match your faucets and lights. Hang mirrors with protected edges, because moisture can damage silvering and quietly ruin the look over time.
22. Share Your Before and After Reveal Photos
A DIY bathroom remodel before and after reveal proves your hard work. Take photos from the doorway before demolition, then repeat the exact angle once the final caulk is dry.
Style the vanity with fresh towels, a plant, and one pretty soap dish. Open curtains, switch on lights, hide clutter, and shoot vertical photos for Pinterest during bright daytime hours.
Pin your photos to a board of DIY bathroom remodel inspiration ideas, then point readers to more home ideas. Sharing cost and time details inspires others to start confidently today.
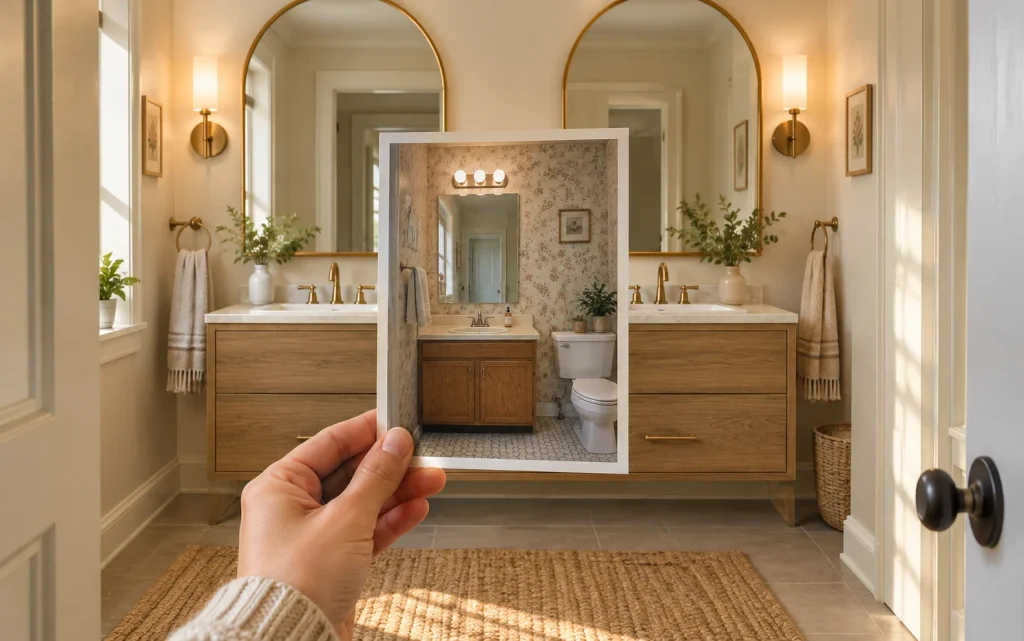
Double Sink Remodel Questions Worth Asking
How Much Wall Width Do Two Sinks Truly Need?
Aim for at least sixty inches, with roughly thirty inches between sink centers. Tighter layouts can work with slim basins, yet comfort suffers, so tape the footprint and test it.
Can a Handy Beginner Add Plumbing Alone?
Simple swaps, like faucets and traps, suit patient beginners. Moving drains, vents, or supply lines carries leak risks and code rules, so a licensed plumber is usually the smarter choice.
Which Permits Protect a Bathroom Overhaul?
Rules vary by city, yet plumbing, electrical, and structural changes commonly need permits and inspections. Phone your building department early, because skipped paperwork can cause fines and insurance trouble later.
What Does a Second Sink Do for Resale Value?
Many buyers enjoy double vanities in primary bathrooms, yet value depends on your market and room size. Ask a local agent whether the upgrade matches neighborhood expectations before spending big.
Do Floating Vanities Hold Two Heavy Basins?
Yes, when anchored into studs or solid blocking with rated brackets. Add the weight of stone tops, water, and storage, then choose hardware that comfortably exceeds the total expected load.