Affordable Tips to Organize Kitchen: 16 Easy Pinterest Ideas

Why Affordable Tips to Organize Kitchen Work
Affordable tips to organize kitchen spaces prove that tidy rooms never need expensive systems. These 16 Pinterest-inspired ideas use baskets, jars, hooks, and risers to bring calm to busy kitchens.
Start with the simplest organize kitchen ideas, then pair new storage with matching kitchen decor ideas from our site so every shelf, jar, and basket looks truly coordinated and beautiful.
Set a tiny budget first, then shop your home before buying anything new. Empty bowls, shoe boxes, and mason jars often work beautifully as free organizers in most busy kitchens.
| Organizer | Cost | Best For | Used In Ideas |
|---|---|---|---|
| Wire shelf risers | $ | Doubling cabinet shelf space | 1 |
| Over-the-door racks | $$ | Cabinet doors and pantry doors | 2, 11 |
| Tension rods | $ | Baking sheets and cutting boards | 3 |
| Clear plate dividers | $$ | Stacked plates and bowls | 4 |
| Trays and baskets | $ | Counters, islands, and towels | 5, 7, 14 |
| Mason or reused jars | $ | Dry goods and snacks | 8 |
| Washi tape and marker | $ | Shelf labels | 9 |
| Lazy Susan | $ | Deep shelves | 10 |
| Drawer tray and utensil rail | $$ | Utensils and cooking tools | 12, 13 |
| Rolling cart | $$$ | Small appliances | 16 |
Organize Kitchen Cabinets and Cupboards Fast
1. Add Shelf Risers Inside Kitchen Cabinets
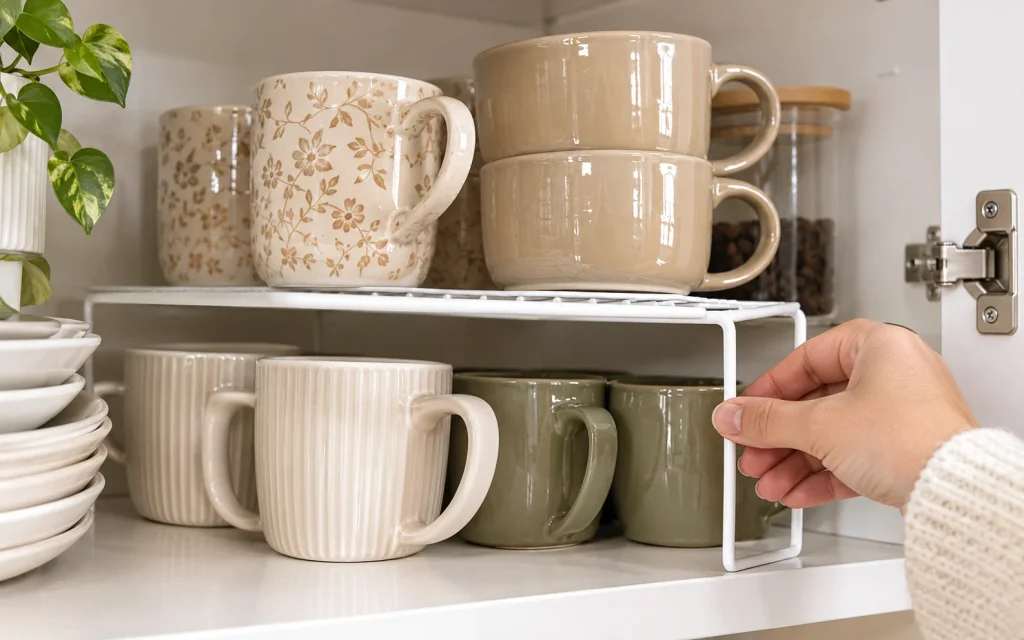
Shelf risers double your space and help you organize kitchen cabinets without new furniture. Slide a small wire riser under mugs or canned goods to create two truly usable levels.
Measure the cabinet height first, then choose risers that leave at least one inch of clearance above. Stack heavy items low and keep your everyday dishes within easy arm’s reach.
Dollar stores and discount shops sell sturdy wire and plastic risers for a few dollars. Add a shelf liner underneath, so dishes stay quiet and the cabinet surface stays clean.
2. Hang Cabinet Door Racks for Wraps and Lids
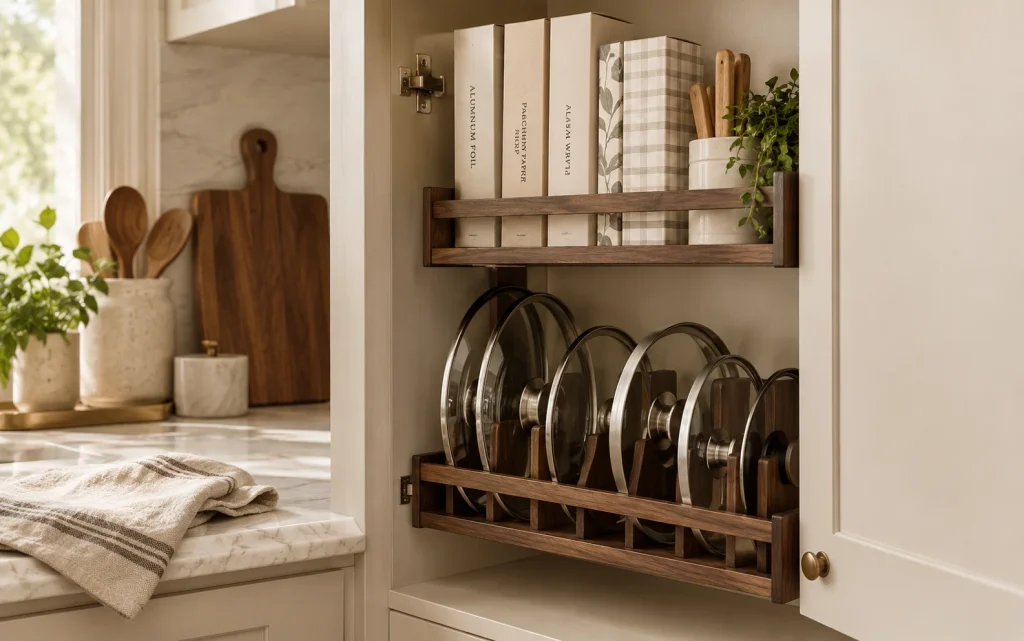
Cabinet door racks turn empty inner doors into storage for foil, wraps, and pot lids. This simple trick helps organize kitchen cupboards while freeing shelf space for heavier cookware below.
Choose over-the-door racks that hook onto the frame, because they need no drilling. Measure the gap between the door and shelves first, so the closed door never catches on anything.
Sort lids by size on the rack, and keep matching pots below them. Add a small adhesive hook for oven mitts, so every tool lives within reach of the stove.
3. Use Tension Rods to Sort Baking Sheets
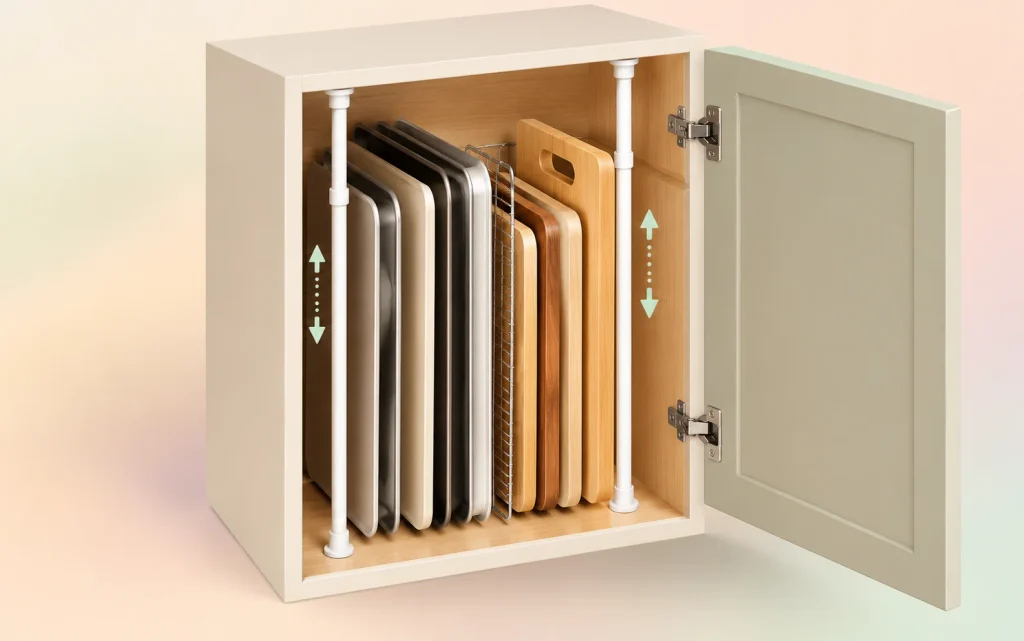
A tension rod set vertically inside a cabinet creates instant slots for baking sheets, cutting boards, and trays. No tools, screws, or skills are needed for this quick, budget-friendly fix.
Place two rods about four inches apart to hold thin pans upright. Wider gaps suit large cutting boards, while slim gaps keep cookie sheets neat, separated, and easy to grab.
Tension rods cost only a few dollars at most home stores. Test the pressure before loading heavy pans, and wipe the cabinet walls first so the rubber ends grip firmly.
4. Stack Cupboard Plates With Clear Dividers
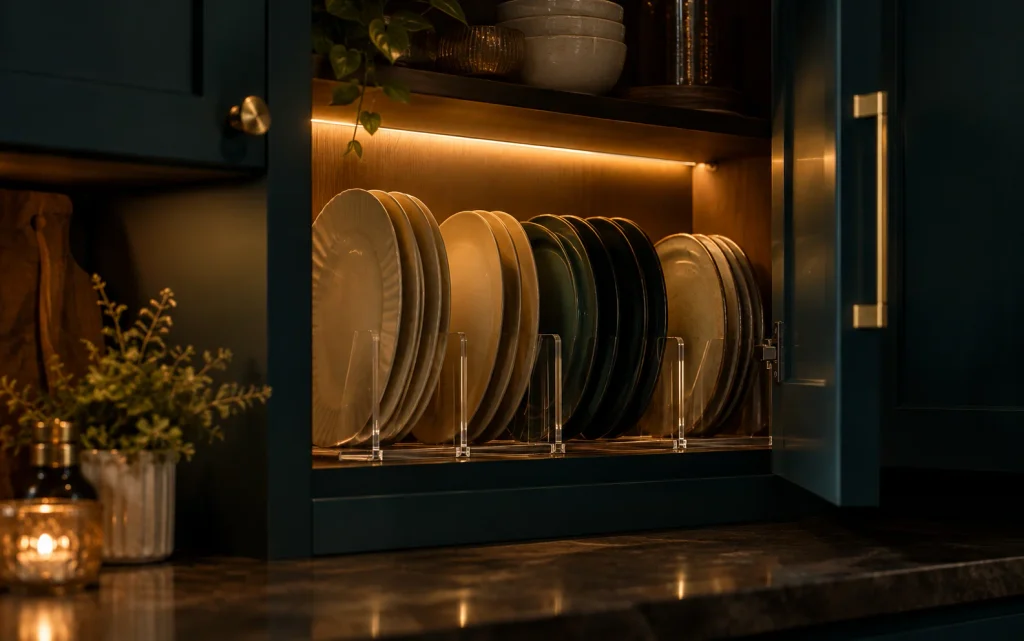
Clear plate dividers stop stacks from toppling and let you lift a single dish without moving the rest. They are a smart way to organize kitchen cupboards on a budget.
Sort dishes by daily use, placing everyday plates and bowls at the front. Store special occasion pieces higher up, since you reach for them far less often during the week.
Affordable plastic or wire dividers fit most standard cupboards. Measure plate diameter before buying, and leave a small gap so dishes slide in smoothly without scratching glazes or chipping edges.
Organize Kitchen Countertops and Island Now
5. Clear Countertops Using One Handy Tray
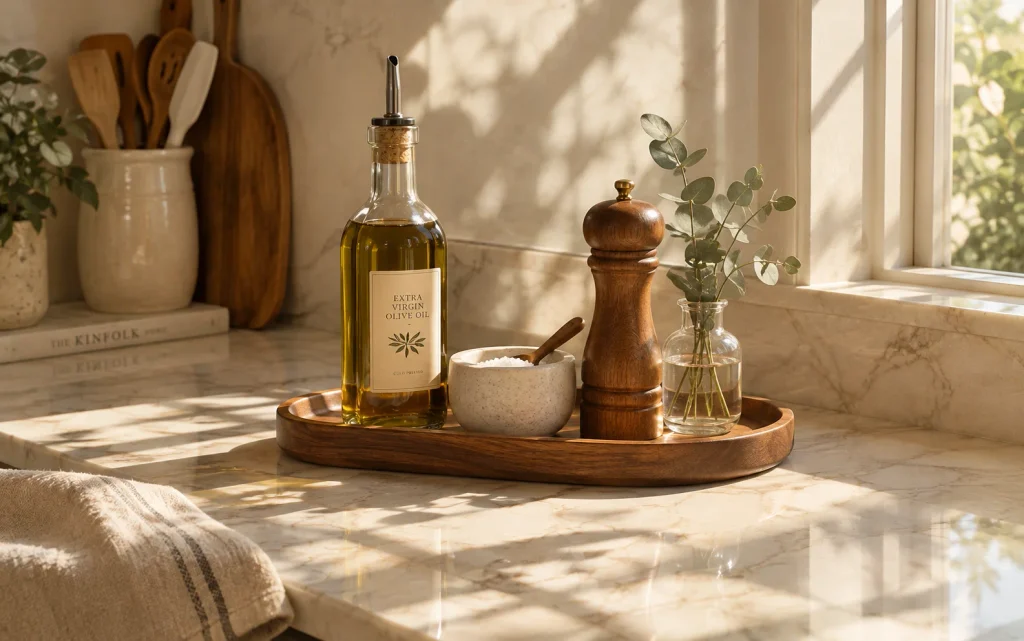
A single tray can organize kitchen countertops instantly. Group oil, salt, pepper, and a small plant together, so clutter looks like a deliberate, tidy vignette instead of scattered loose bottles.
Choose a wooden, marble, or metal tray with raised edges. Keep only the items you use daily on it, and move everything else into cabinets, drawers, or the pantry shelves.
Wipe the tray weekly so crumbs and drips never build up. A clear counter makes cooking faster, cleaning easier, and the whole kitchen feel calmer the moment you walk in.
6. Build a Coffee Station on a Small Counter
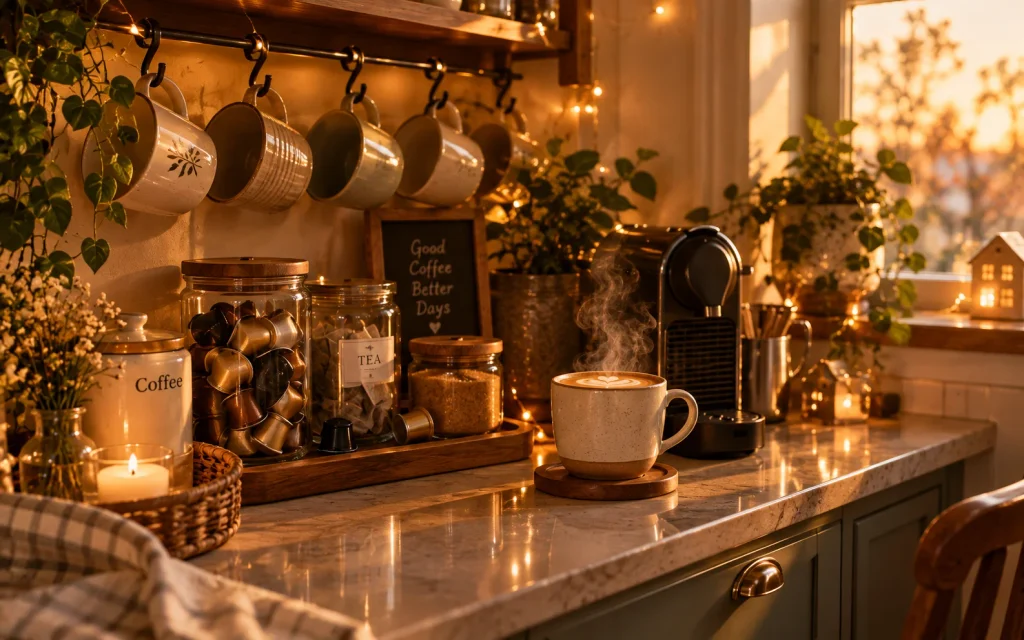
A coffee station keeps mugs, pods, and sweeteners together and helps organize kitchen counter chaos. Use a corner, a tray, or a small cart to create a tidy morning zone.
Hang mugs from a small rack or hooks, then store tea bags and pods in clear jars. Label each container, so everyone in the household finds favorites quickly and easily.
Add a small plant, a framed print, and a hand towel to make the corner feel cozy. Keep appliances unplugged when not in use and place them away from water.
7. Add Hooks and Baskets to a Kitchen Island
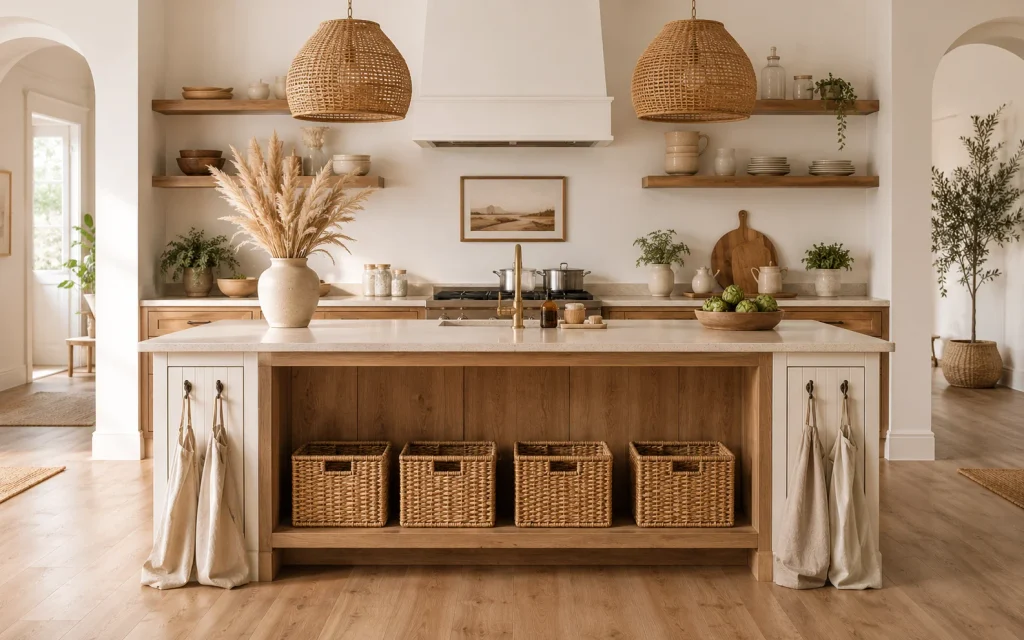
A kitchen island offers valuable storage when you add hooks, baskets, and open shelves. Use these budget upgrades to organize kitchen island sides without building anything or hiring a contractor.
Attach adhesive hooks to the end panel for aprons and towels. Slide woven baskets onto a low shelf for produce, cookbooks, and lunch boxes you grab every busy school morning.
Keep the top mostly clear for chopping and serving. Place a fruit bowl or a cake stand at one end, so the island stays useful and always looks beautifully styled.
Organize Kitchen Pantry and Open Shelves
8. Decant Dry Goods Into Matching Clear Jars
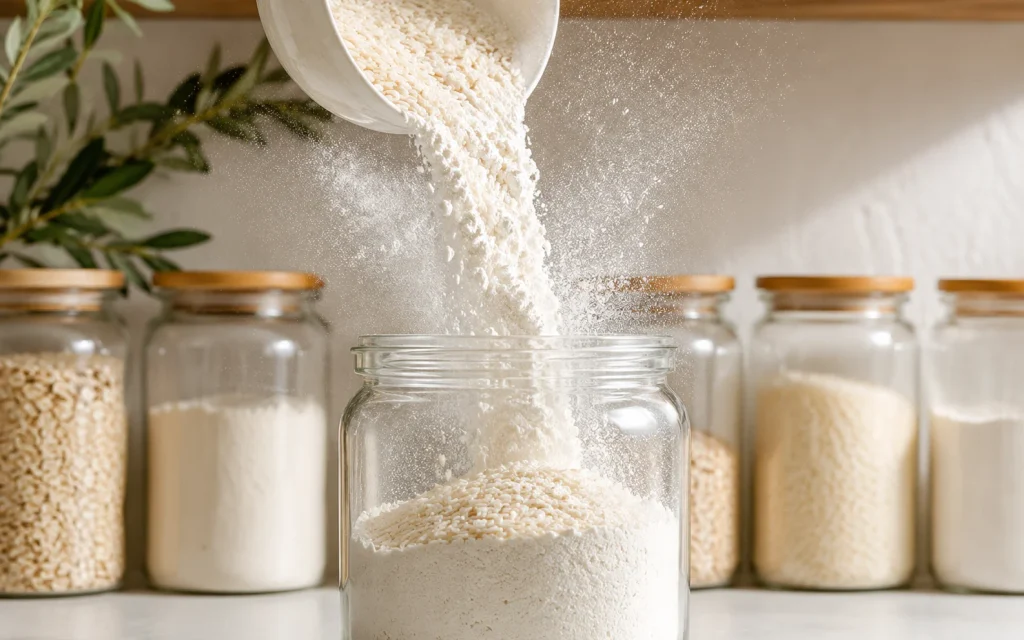
Matching clear jars make any pantry look like a boutique shop. Pour flour, rice, pasta, and snacks into airtight containers to organize kitchen pantry shelves and keep ingredients fresh longer.
Start with reused pasta sauce and pickle jars, then wash and dry them completely. Add new matching jars slowly as your budget allows, starting with your most frequently used staples.
Write expiration dates on the bottom of each jar with a permanent marker. Place older items in front, so nothing ever gets forgotten at the very back of the shelf.
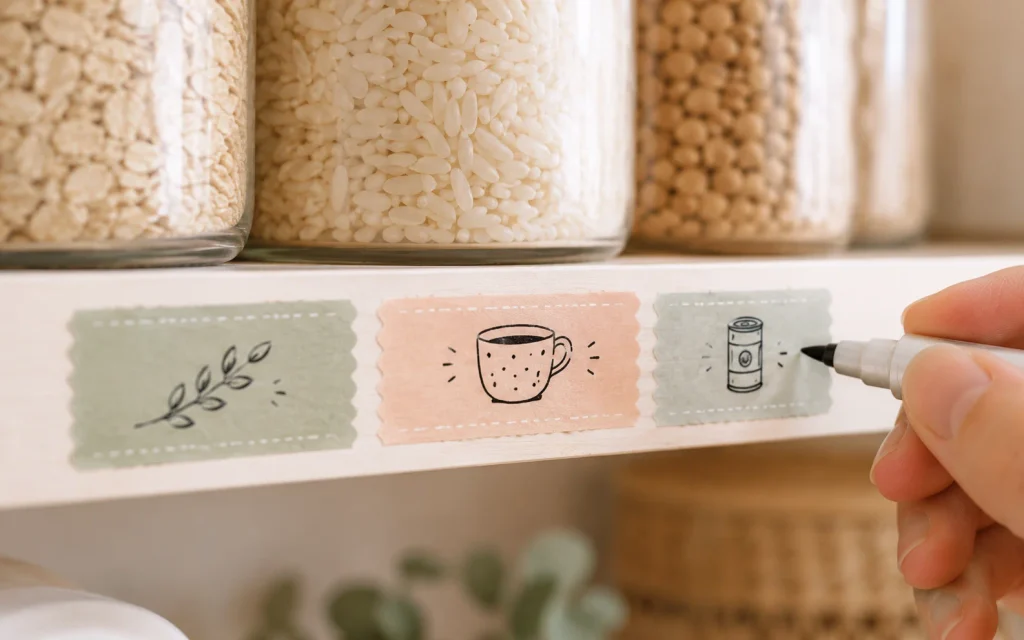
9. Label Every Pantry Shelf With Washi Tape
Labels turn a messy pantry into an easy system everyone can follow. Washi tape and a marker cost almost nothing, and they organize kitchen shelves by category in just minutes.
Stick a strip along each shelf edge and write simple category names like baking, snacks, breakfast, and canned goods. Use one handwriting style for a clean, consistent, polished finish overall.
Choose pastel, striped, or floral washi to match your kitchen colors. Peel gently when categories change and rewrite the label, because washi tape removes cleanly from most smooth, painted shelves.
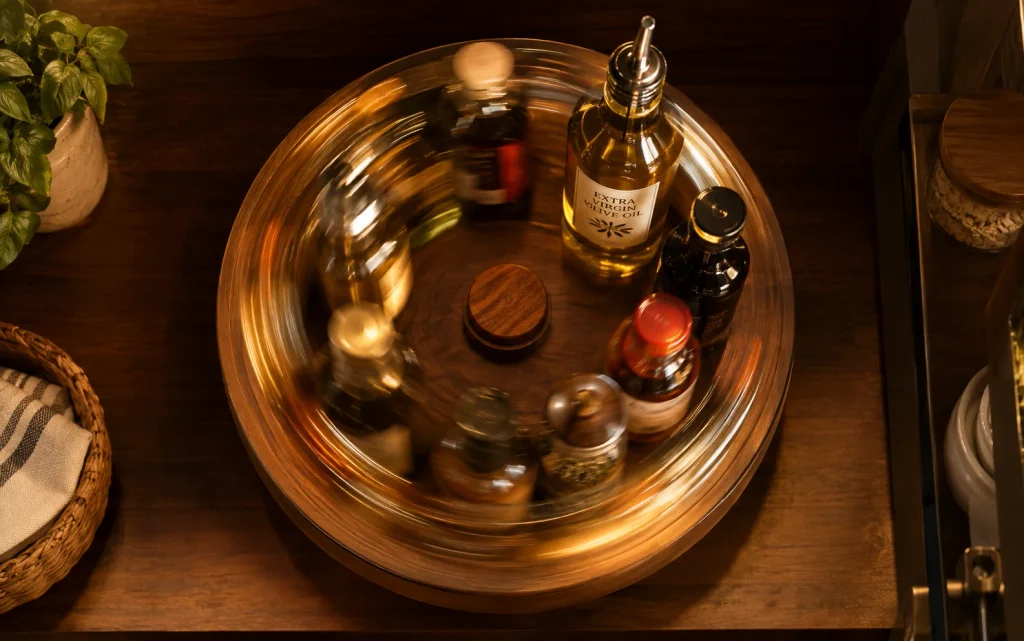
10. Place Lazy Susans on Deep Pantry Shelves
Deep shelves swallow small bottles, so a lazy Susan brings everything back into reach. Spin the turntable and every sauce, spice, or oil appears without digging through the whole shelf.
Use one turntable per category, such as baking oils, sauces, or tea. Choose a size slightly smaller than the shelf depth so bottles never catch on the closing cabinet door.
Plastic lazy Susans cost only a few dollars and wipe clean in seconds. Add a non-slip liner underneath, and your spices, jars, and bottles will stay put during every spin.
11. Use Over-the-Door Racks for Pantry Space
An over-the-door rack adds five extra shelves without taking up any floor space. It is the fastest way to organize kitchen pantry spaces when cabinets are already packed and full.
Hang it on a pantry door or a cupboard door, and fill it with spices, snacks, foil, and cleaning supplies. Keep heavier items low so the door still closes smoothly.
Check the rack’s weight limit before loading it, and measure the door thickness first. Wire racks with clear liners hold small packets without letting them slip through the narrow gaps.

Organize Kitchen Utensils, Towels, Appliances
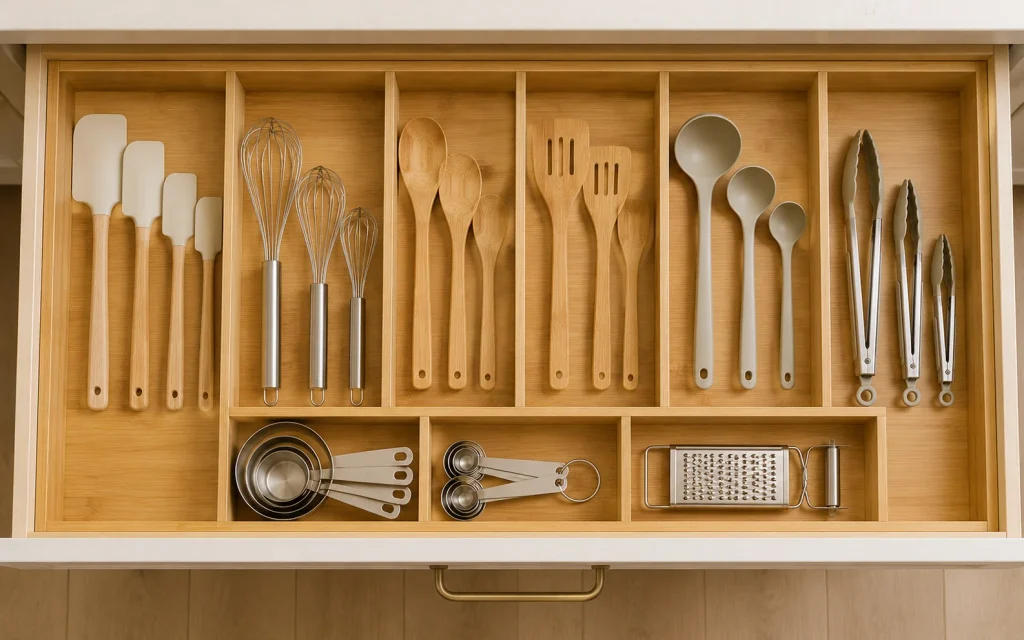
12. Sort Utensils in a Drawer Divider Tray
A drawer divider tray is the easiest way to organize kitchen utensils. Spatulas, whisks, and ladles each get their own slot, so you never dig through a messy, tangled pile.
Choose bamboo or plastic trays that fit your drawer width. Group tools by task, such as baking or grilling, then try other organize kitchen utensils ideas like jars and rails.
Measure the drawer before buying, and choose an adjustable tray if sizes vary. Add a shelf liner underneath so the tray never slides when you open the drawer very quickly.
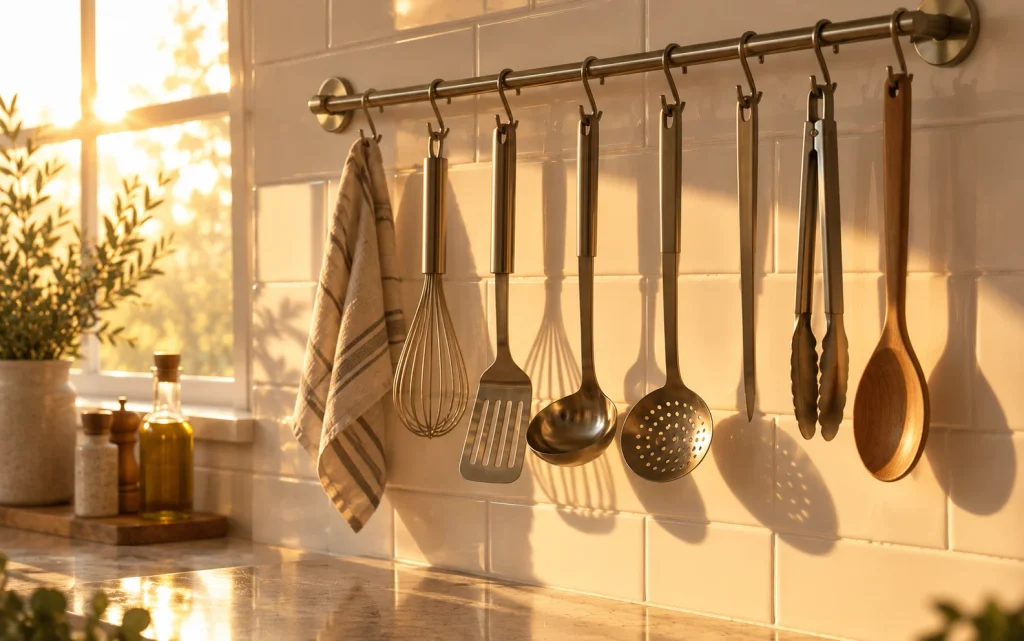
13. Hang Utensils on a Rail With S-Hooks
A simple rail with S-hooks keeps cooking tools visible and close to the stove. It frees drawer space and helps organize kitchen utensils without costing much money or real effort.
Mount the rail near the cooking zone using screws or strong adhesive strips. Hang ladles, whisks, and spatulas by their handles, keeping the heaviest tools closest to the wall studs.
Choose a brushed steel, black, or brass rail to match your faucet. Wipe the tools and the rail weekly, since open storage collects dust and cooking grease slowly over time.
14. Roll Kitchen Towels Into a Basket Display
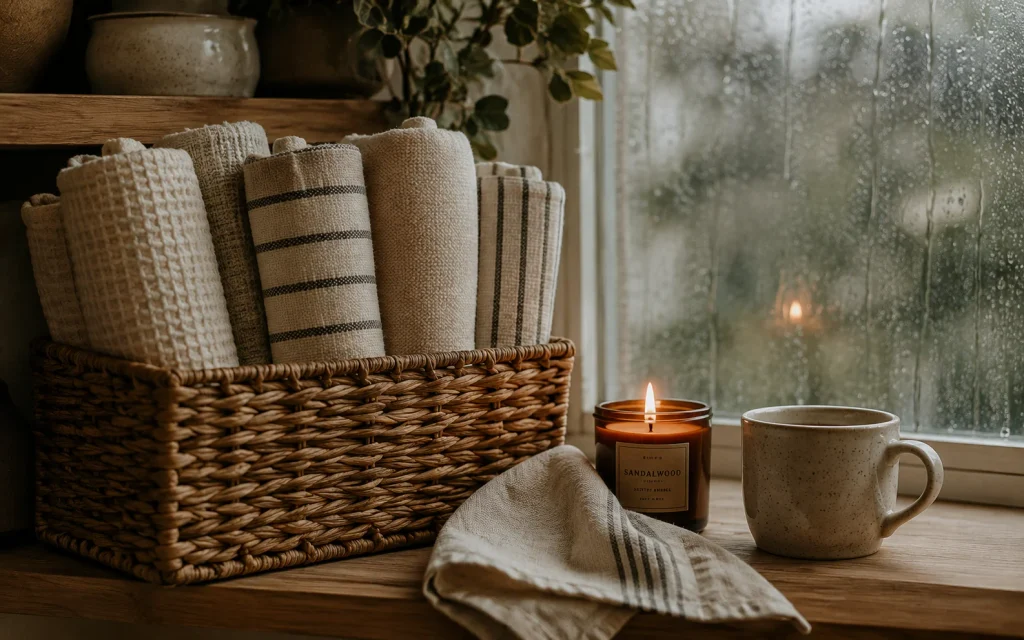
Rolled towels in a basket look like a boutique display and save drawer space. This easy trick helps organize kitchen towels while adding warm texture to open shelves or counters.
Fold each towel in thirds, roll it tightly, and stand the rolls upright. Choose a woven basket, a wire bin, or a wooden crate in a size that fits nicely.
Keep everyday towels at the front and fresh ones behind. Wash towels weekly in hot water and replace stained ones, so your kitchen always feels truly clean, soft, and welcoming.
15. Create an Appliance Garage From a Cabinet
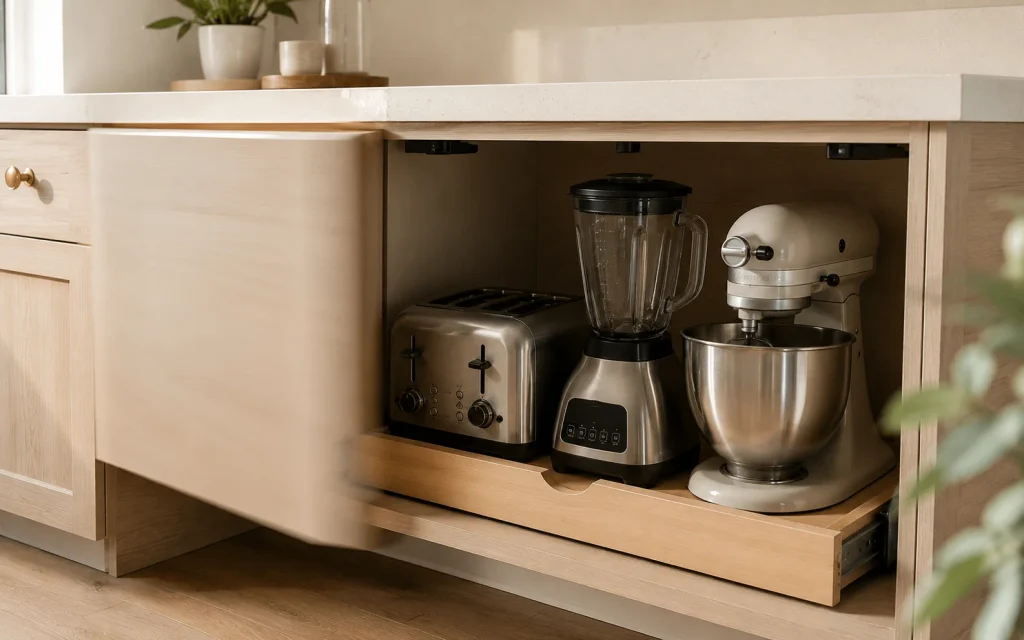
An appliance garage hides toasters, blenders, and mixers behind a closed door, which keeps counters clear. This clever trick helps organize kitchen appliances without a costly remodel or new cabinets.
Dedicate one lower cabinet to daily appliances, and add a pull-out shelf or a sliding tray. Keep outlets nearby so you can plug in and use items without heavy lifting.
Check manufacturer instructions before running any appliance inside a closed space, since heat and steam need airflow. Pull each machine out onto the counter during daily use for everyone’s safety.
16. Store Small Appliances on a Rolling Cart
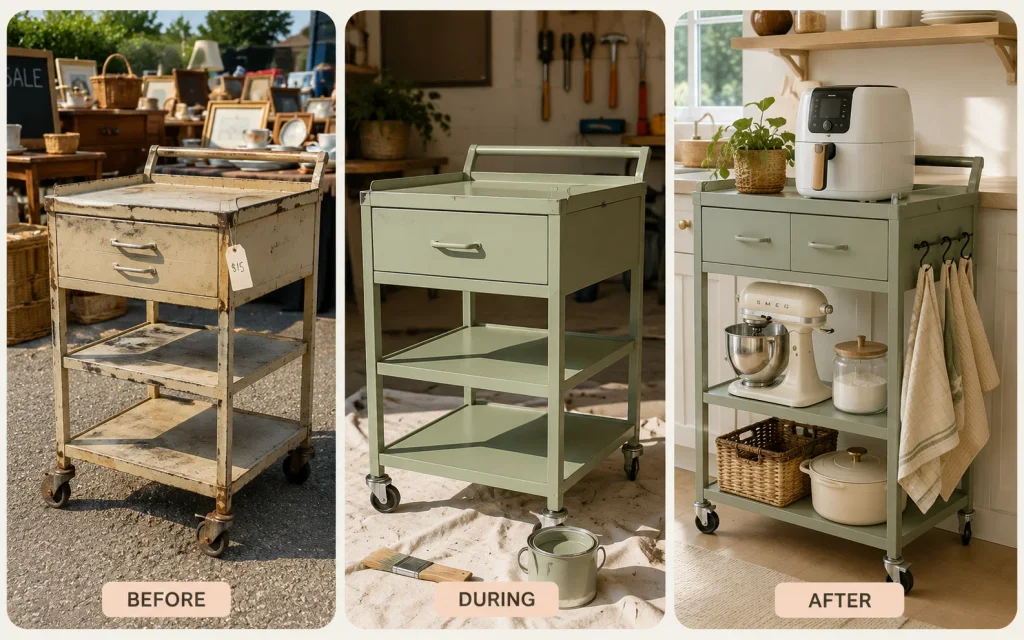
A rolling cart gives small kitchens flexible storage for air fryers, mixers, and toasters. Wheel it out when cooking and tuck it neatly away afterward to organize kitchen appliances beautifully.
Choose a slim three-tier cart with sturdy wheels and locking brakes. Put heavy items on the bottom shelf, then add hooks on the side for towels, aprons, and measuring cups.
Thrift stores, garage sales, and discount shops often sell useful carts for under thirty dollars. For extra storage inspiration, explore more home ideas on our site and save your favorites.
Kitchen Organizing Questions Answered Boldly
Which Cheap Buys Tame a Cluttered Kitchen?
Clear bins, shelf risers, tension rods, and matching jars tame clutter fast. Start with one cabinet, measure carefully, and add pieces slowly so every purchase solves a specific, daily problem.
How Do You Keep Tiny Cabinets From Chaos?
Use vertical space with risers and door racks, then assign every item a permanent home. Edit monthly, donating duplicates and expired goods, so small cabinets stay calm and never overflow.
Do Dollar Store Bins Really Last for Years?
Often, yes, when you pick sturdy plastic and avoid overloading them. Check the weight limits, wash bins regularly, and replace any cracked pieces before they damage your stored dry food.
What Stops Pantry Messes From Returning Fast?
A weekly five-minute reset stops messes from returning. Put items back, wipe shelves, check dates, and rotate older goods forward, so the whole system stays easy to maintain long term.
Is Labeling Worth It for a Family Kitchen?
Absolutely. Labels help children, partners, and guests put items back correctly, which protects your whole system. Use waterproof tape or a simple label maker for the cleanest, longest-lasting results possible.