Garden Path Ideas to Transform Your Outdoor Space

Garden Path Ideas That Make Every Step Feel Intentional

A garden without a path is like a room without a door — you can technically get in, but the experience feels incomplete. Garden path ideas have evolved far beyond plain concrete strips, and today’s options range from mossy stepping stones to elegant herringbone brick and everything in between.
Whether you’re working with a sprawling backyard or a compact courtyard, the right pathway can completely change how your outdoor space looks and feels. It guides visitors, protects your lawn, and adds a design element that ties the whole garden together.
This guide walks you through the best materials, layouts, styles, and practical tips to help you plan and build a garden path you’ll love for years.
Why Garden Paths Matter More Than You Think
Most people think of garden paths as purely functional — a way to get from the front door to the back gate without trampling the grass. And yes, they do that job. But a well-designed path does so much more.
It creates visual flow, drawing the eye through the garden and encouraging people to explore. It defines separate zones — the seating area, the vegetable patch, the flower borders — without needing fences or walls. And it gives your garden a sense of structure that makes even an informal, wildly planted space feel considered.
A garden path is also one of the most rewarding DIY projects you can take on. Unlike building a deck or installing irrigation, laying a simple path is manageable for most homeowners with a free weekend and some elbow grease.
Most Popular Garden Path Materials (And How They Compare)
One of the first decisions you’ll face is material. Each option has its own look, feel, price point, and maintenance requirements. Here’s a straightforward comparison:
–$$–$$
| Material | Look | Cost (per sq ft) | Durability | DIY Friendly? |
|---|---|---|---|---|
| Natural stone | Elegant, organic | $$$$ | Excellent | Moderate |
| Brick | Classic, timeless | $$$ | Very good | Yes |
| Gravel / pea gravel | Informal, cottage-style | $ | Good | Very easy |
| Concrete pavers | Clean, versatile | $$ | Excellent | Yes |
| Stepping stones | Relaxed, garden-feel | Good | Very easy | |
| Bark / wood chips | Natural, woodland | $ | Moderate | Very easy |
| Flagstone | Rustic, artisan | Excellent | Moderate | |
| Decomposed granite | Earthy, contemporary | $$ | Good | Easy |
No material is universally “best.” The right choice depends on your garden’s style, your budget, and how much traffic the path will see.
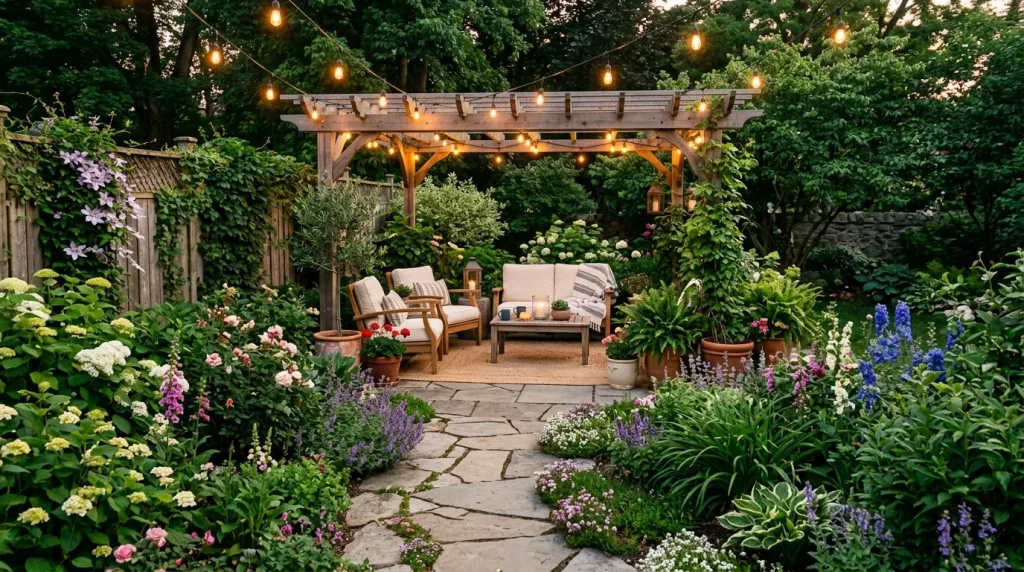
Garden Path Ideas by Style
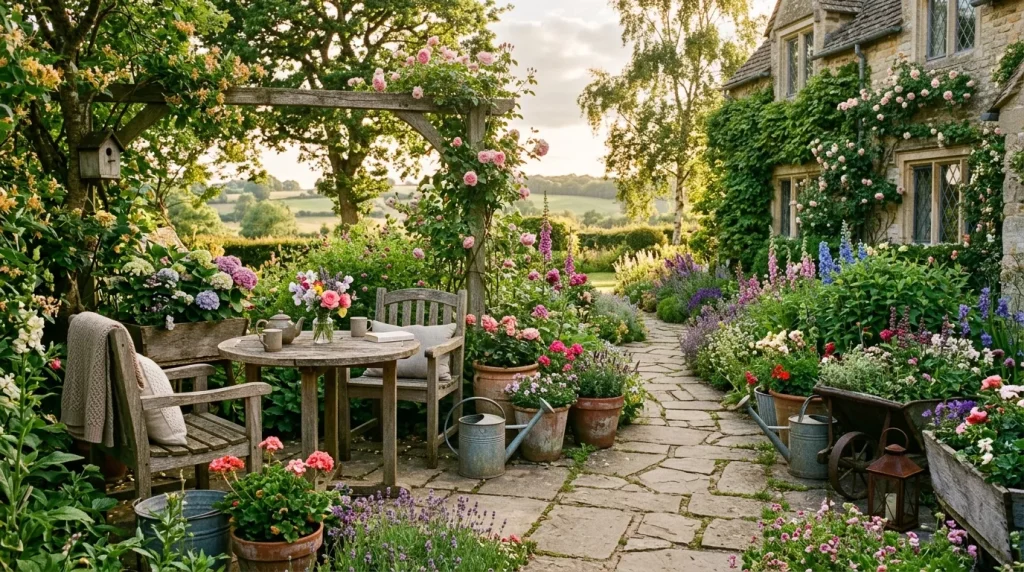
Cottage Garden Paths
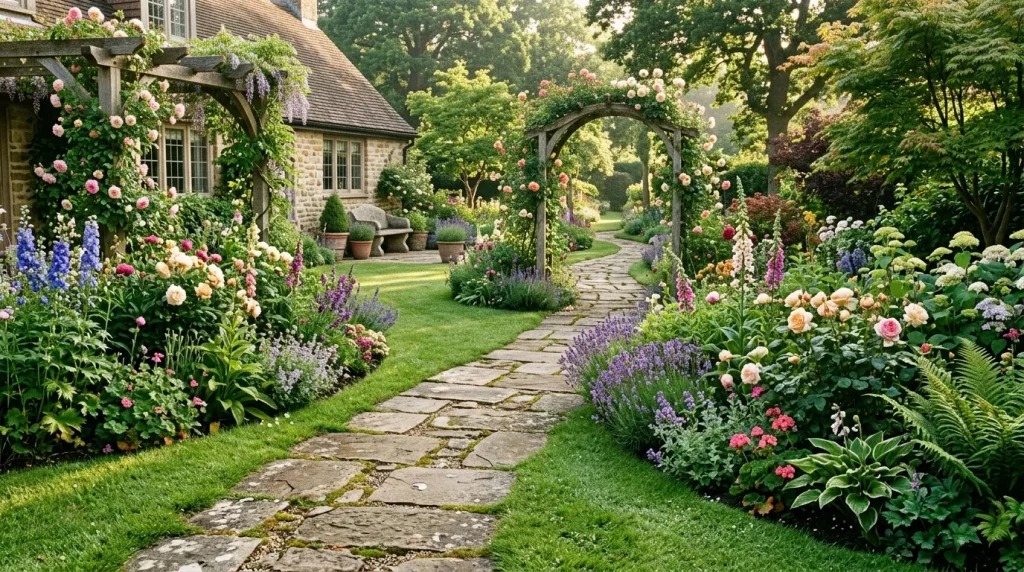
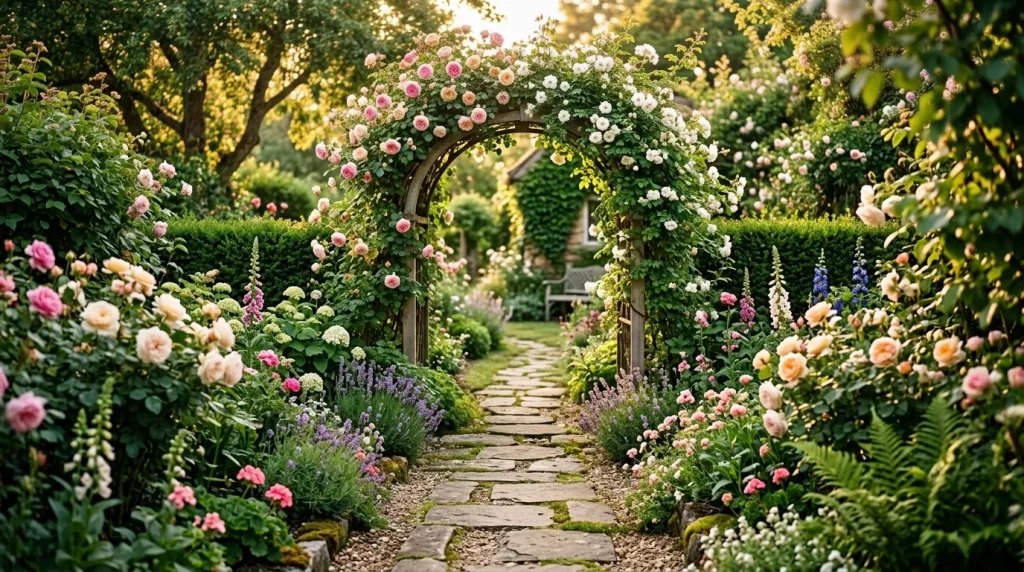
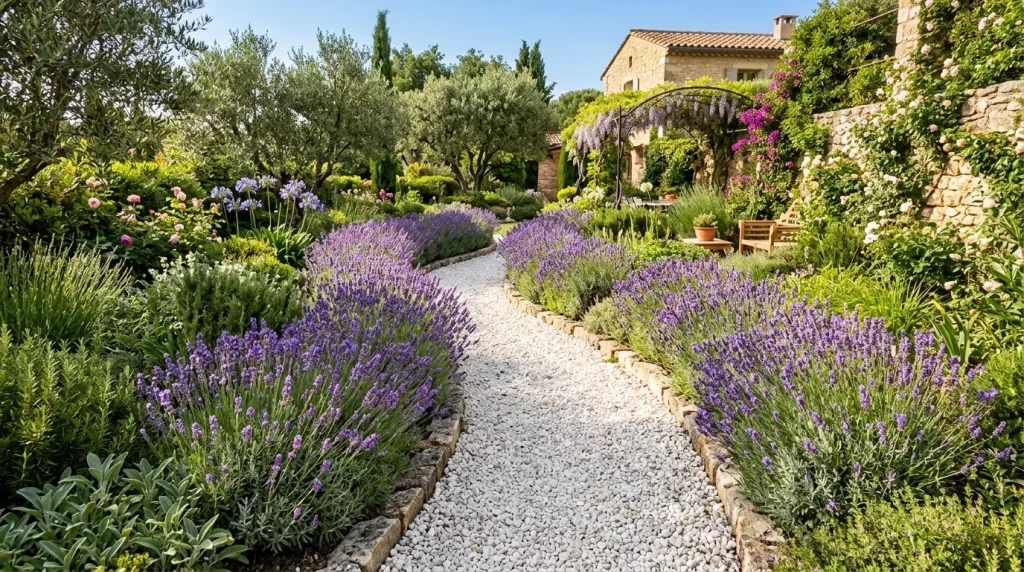
If your garden leans toward the lush and romantic — climbing roses, lavender borders, foxgloves swaying in the breeze — your path should match that energy. Think irregular flagstone or weathered brick laid in a gentle curve rather than a straight line.
Allow low-growing plants like thyme, chamomile, or creeping Jenny to spill between the stones. That softness between hard material is what gives cottage garden paths their signature charm.
Avoid anything too geometric or polished here. Imperfection is the point.
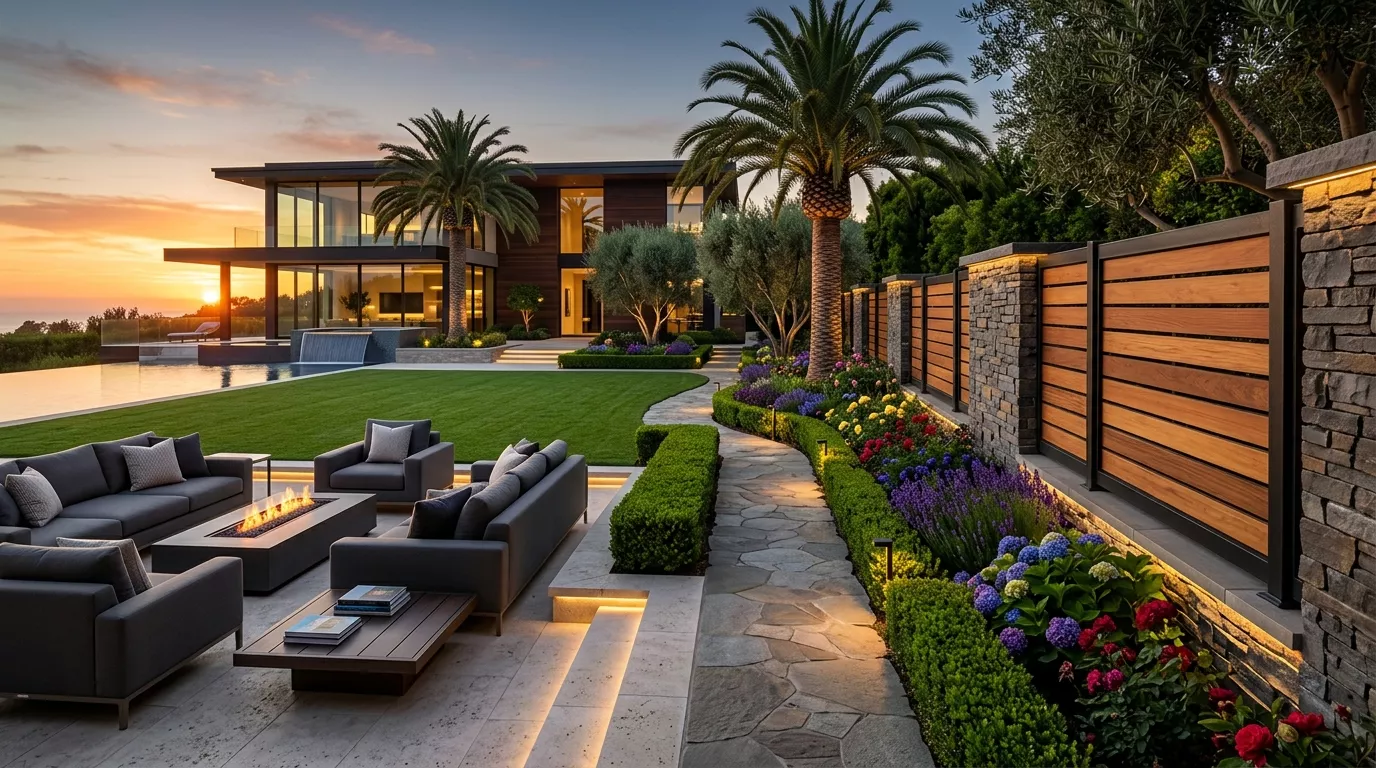
Modern and Minimalist Garden Paths
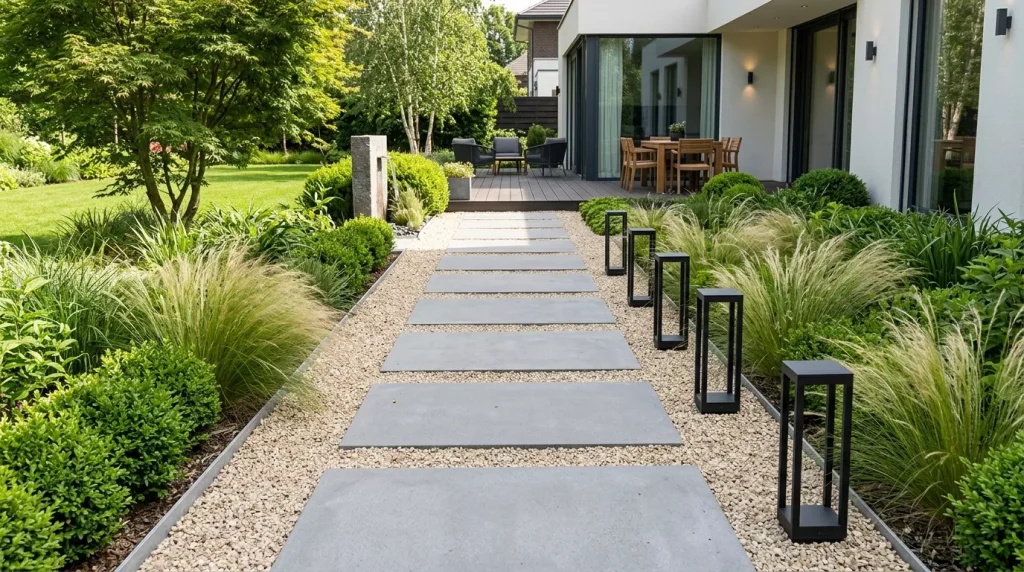
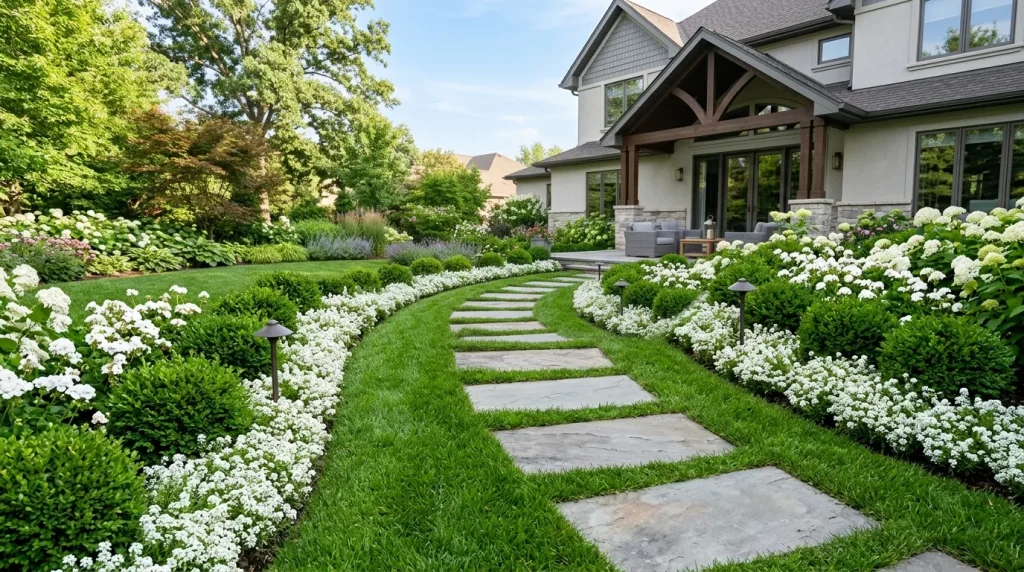
Contemporary outdoor spaces call for clean lines and deliberate simplicity. Large-format concrete pavers or smooth natural stone slabs spaced evenly across a gravel ground cover is a combination that consistently looks sophisticated.
Stick to a limited color palette — gray, charcoal, off-white — and resist the temptation to add decorative borders or mixed materials. The restraint is what makes it work.
Woodland and Naturalistic Paths
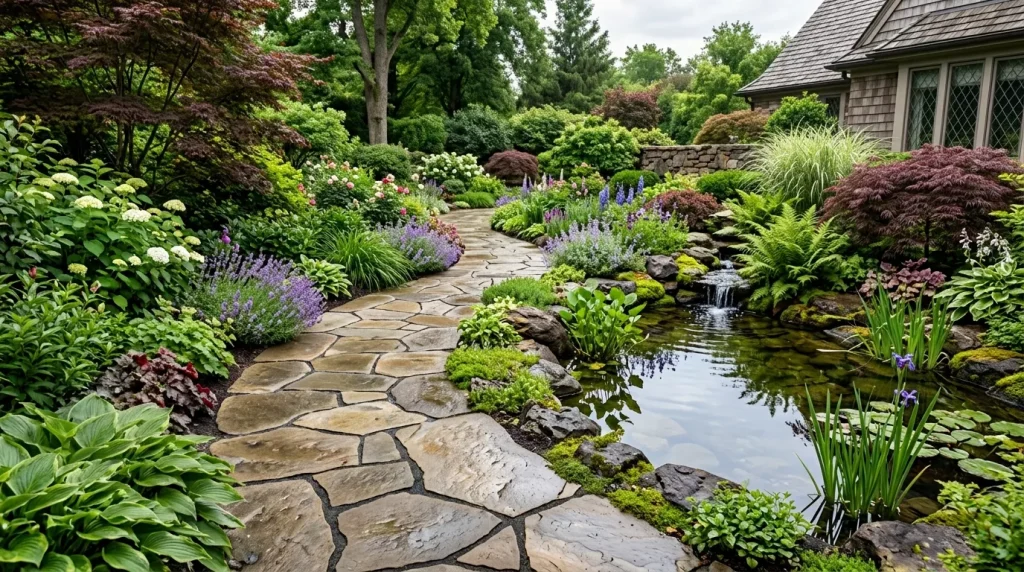
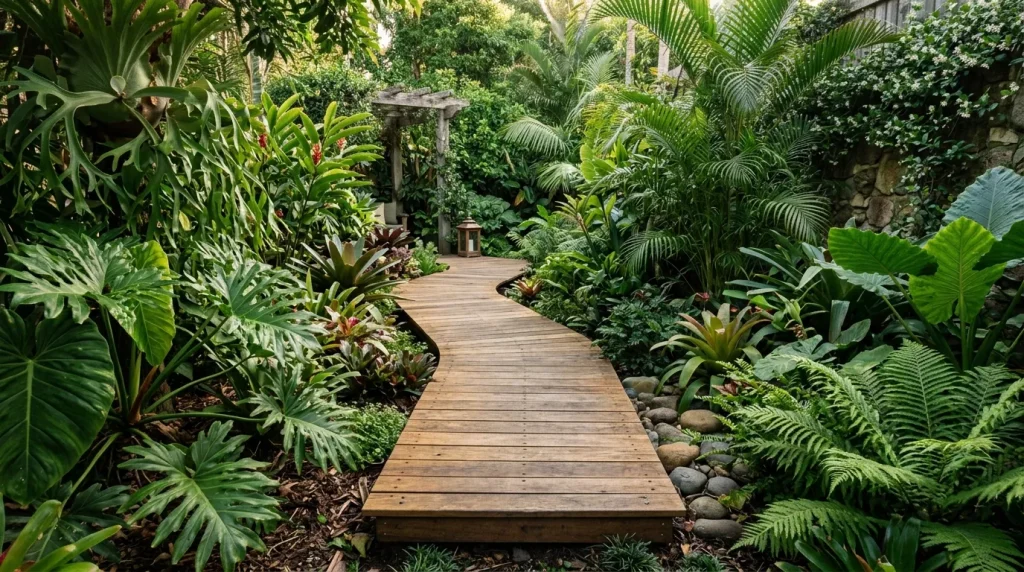
For gardens that lean into nature — surrounded by ferns, hostas, and mature trees — bark chips, stepping stones, or gravel paths feel most at home. These materials settle into the landscape naturally and improve with age as moss begins to colonize the edges.
This style is also the most budget-friendly. A bag of bark mulch goes a long way, and reclaimed stepping stones can often be sourced cheaply or even free.
Formal and Symmetrical Paths
If you have a more structured garden with neatly clipped hedges, topiary, or a formal vegetable garden, a straight brick or stone path laid in a precise pattern — herringbone, basketweave, or running bond — creates exactly the right sense of order.
These paths often work best when edged with low box hedging or metal lawn edging to keep the lines crisp and defined over time.
Rustic and Farmhouse Style
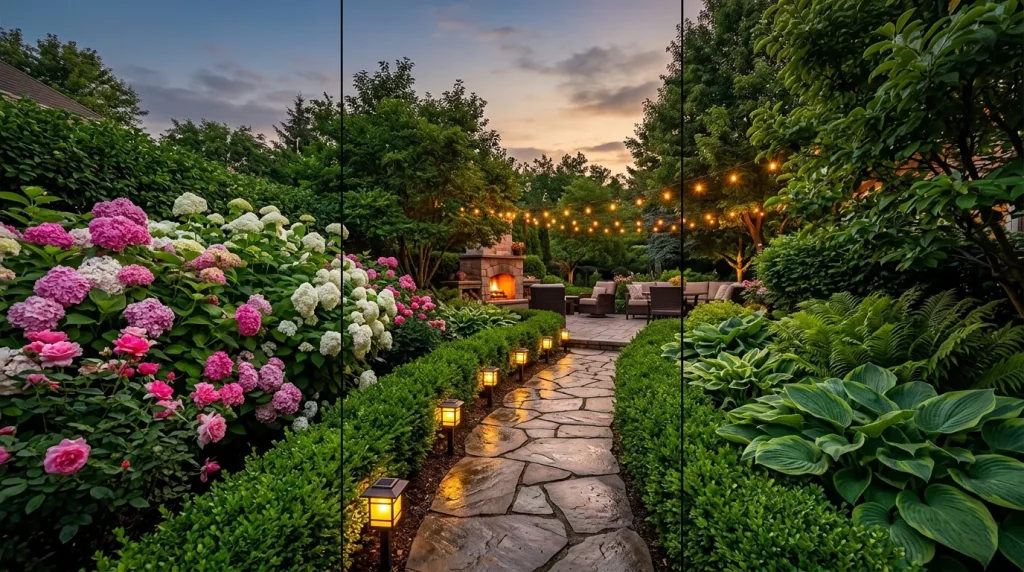
Reclaimed materials are your best friend here. Old bricks, salvaged railway sleepers, or chunky sandstone pavers all carry that lived-in, authentic quality that suits a farmhouse-style garden beautifully.
Gravel between pavers, worn edges, and slightly uneven surfaces all add to the character rather than detracting from it.
Best Garden Path Ideas by Material
Stepping Stone Paths
Stepping stones are the most approachable garden path option for beginners. You simply set individual stones into the lawn or soil at a comfortable stride apart, and you’re done.
Use natural slate, concrete rounds, or even reclaimed timber slices for a more woodland feel. The key is spacing — too close together feels awkward, too far and guests are forced to hop. Around 18 to 24 inches center-to-center is the comfortable sweet spot for most adults.
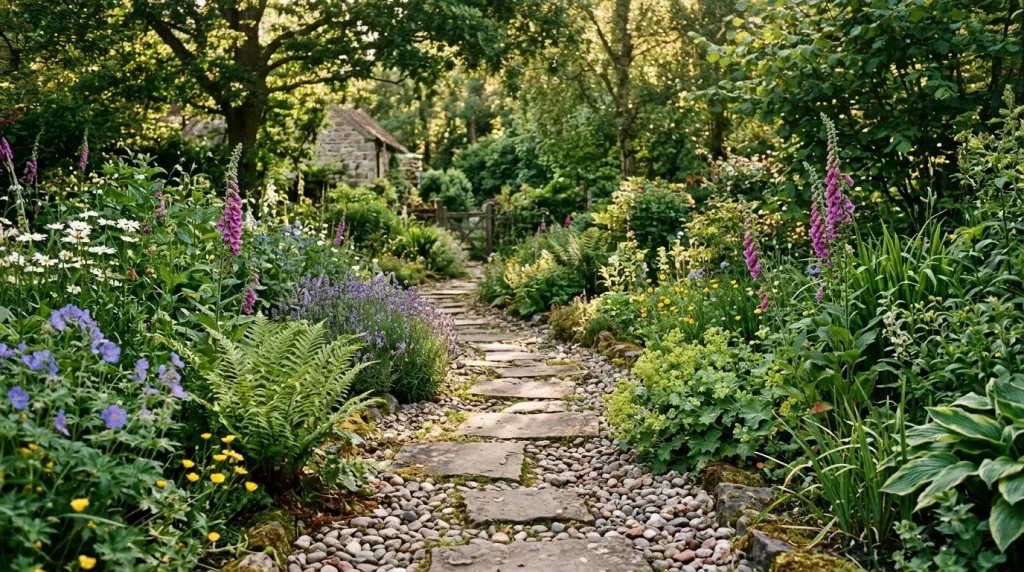
Gravel Garden Paths
Gravel is one of the most versatile and cost-effective path materials available. It drains beautifully, suppresses weeds when laid over membrane, and comes in a range of colors and textures — from pale pea gravel to golden flint to dark slate chippings.
The main trade-off is that gravel migrates. Without good edging, it spreads onto lawns and borders over time. Invest in solid metal or timber edging and this becomes a non-issue.
Brick Garden Paths
Brick carries a timeless quality that suits almost every garden style. It’s warm, familiar, and ages gracefully — especially when moss and lichen begin to develop along the edges.
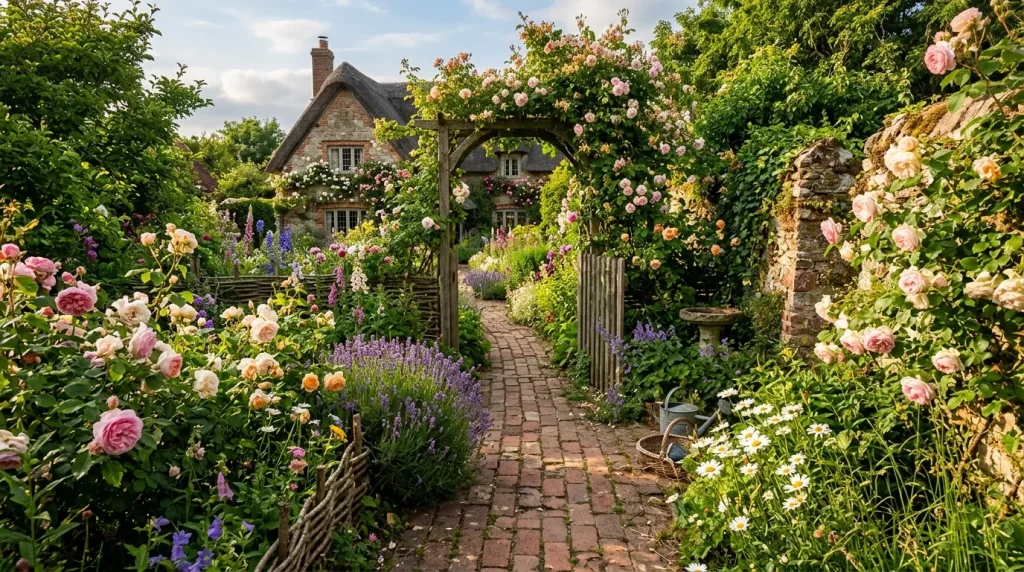
You can lay brick in several patterns. Herringbone offers excellent stability and is ideal for high-traffic paths. Running bond (like standard brickwork) is simpler to lay and looks clean. Basketweave is a decorative option that’s slightly more complex but very rewarding.
Natural Stone and Flagstone Paths
Nothing quite matches the character of real stone. Limestone, sandstone, slate, and granite all have their own personality — varying in texture, color, and feel underfoot.
Flagstone laid with moss or low groundcover plants growing between the joints is one of the most beautiful garden path styles in existence. It takes a bit more effort to lay correctly (you need a stable base and some patience with irregular shapes), but the result is genuinely stunning.
Concrete Paver Paths
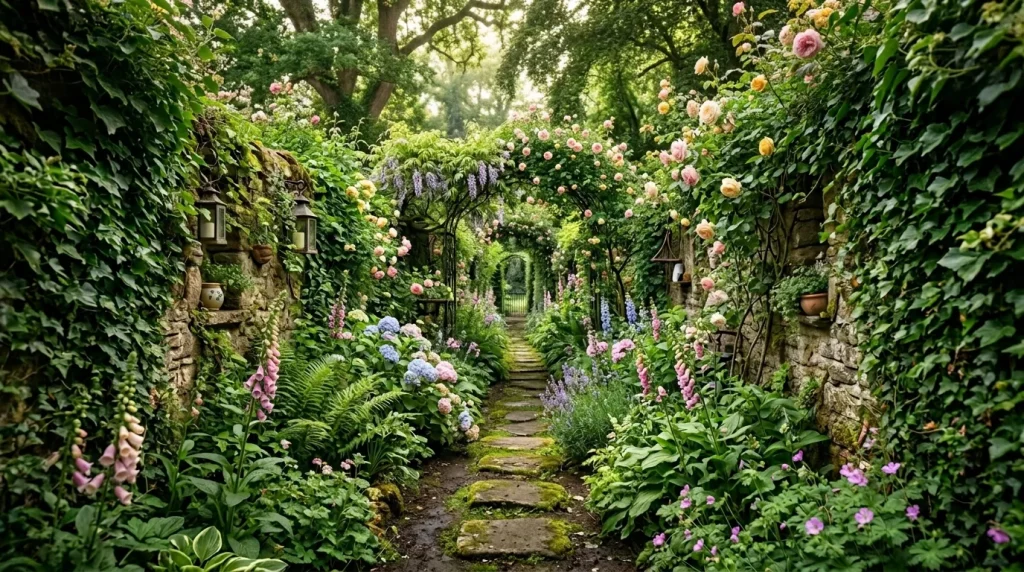
Modern concrete pavers have come a long way from the bland gray squares of the 1990s. Today’s options include textured finishes, large-format sizes, and colors that convincingly mimic natural stone — often at a fraction of the cost.
They’re consistent in size, which makes them significantly easier to lay than natural stone, and they’re extremely durable even in high-traffic areas.
Garden Path Ideas: Pros and Cons
Natural Stone
Pros: Beautiful, unique, extremely durable, improves with age Cons: Expensive, irregular shapes require more skill to lay, can be slippery when wet
Gravel
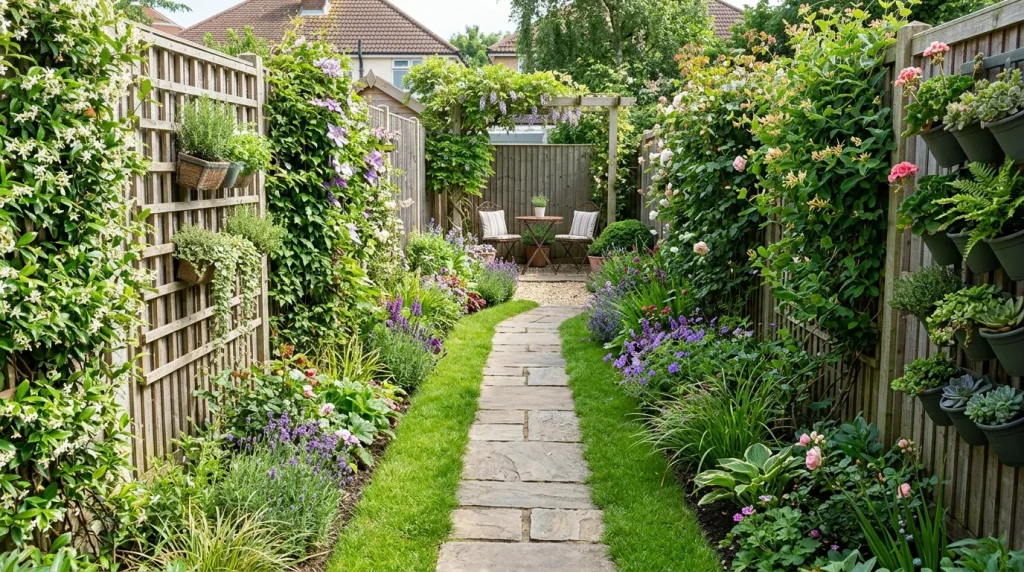
Pros: Affordable, excellent drainage, easy to install, many color options Cons: Migrates without edging, not ideal for heels or wheelchairs, can track indoors
Brick
Pros: Classic and versatile, ages beautifully, multiple laying patterns available Cons: Can become slippery with moss, mortar joints may crack over time, heavier to work with
Stepping Stones
Pros: Affordable, easy to install, flexible design, looks great in casual gardens Cons: Not suitable for high-traffic areas, can shift over time, gaps require regular weeding
Concrete Pavers
Pros: Consistent sizing, very durable, low maintenance, wide range of styles Cons: Can look artificial in naturalistic settings, may crack under extreme frost without proper base
Step-by-Step Guide: How to Lay a Simple Garden Path
This guide works for most paved or paver-style paths. Gravel and stepping stone paths follow a similar process with minor adjustments.
Step 1: Plan Your Route and Width Mark out your intended path using garden canes and string, or simply spray paint on the grass. A path for single-file walking should be at least 18 inches wide. For two people to walk comfortably side by side, aim for 36 inches or more.
Step 2: Excavate the Area Dig down around 6 to 8 inches to allow for a sub-base and the paving material itself. Use a spade to cut clean edges along your marked line.
Step 3: Lay a Sub-Base Add 4 inches of compacted hardcore or crushed stone as your base layer. This is what gives your path long-term stability and prevents sinking or shifting. Compact it down with a hand tamper or plate compactor.
Step 4: Add a Sand Bedding Layer Spread a 1 to 2 inch layer of sharp sand over the compacted sub-base. Level it with a screed board. This layer gives your pavers or stones a firm but adjustable bed to sit in.
Step 5: Lay Your Material Place your bricks, pavers, or stones from one end to the other. Check regularly with a spirit level to ensure an even surface. For flagstone, take your time fitting irregular pieces together like a puzzle — leave consistent joint gaps.
Step 6: Add Edging Install your chosen edging material along both sides to contain everything. Metal lawn edging, timber boards, or brick soldiers (bricks set on their sides) all work well.
Step 7: Fill the Joints Brush dry sand or a dry mortar mix into the joints between pavers. For gravel paths, simply add your gravel on top of the sand layer and rake level.
Step 8: Compact and Finish Give the entire path a final pass with a compactor (for pavers) or firm it by hand. Water the joints lightly to encourage the sand to settle. Your path is ready to walk.
Tips for a Beautiful Garden Path
- Curve it slightly — Even a gentle curve makes a path more inviting than a dead-straight line, particularly in informal gardens
- Vary the texture — Combining two materials (like stone pavers with gravel infill) adds visual interest without looking busy
- Light it up — Low solar stake lights or recessed ground lights along a path are practical and atmospheric after dark
- Plant the edges — Soft planting along path edges — lavender, catmint, alchemilla — integrates the hard surface into the garden beautifully
- Consider drainage — Paths should slope very slightly (1 in 60 is enough) to prevent water pooling after rain
- Use weed membrane — Lay it under gravel or bark chip paths to dramatically reduce weeding
- Match materials to your house — A brick house almost always looks better with a brick or warm-toned path than a stark gray concrete one

Common Mistakes to Avoid When Creating Garden Paths
Making the path too narrow This is by far the most common mistake. A path that forces people to walk single-file and brush against plants on both sides feels uncomfortable. If in doubt, go wider than you think you need.
Skipping the sub-base It’s tempting to just lay pavers directly on soil to save time. Don’t. Without a proper compacted base, paths sink, shift, and become uneven within a season or two.
Ignoring drainage A perfectly level path sounds ideal, but a dead-flat surface has nowhere for rainwater to go. A tiny gradient — barely perceptible underfoot — makes a huge practical difference.
Choosing material for looks alone Some materials are slippery when wet (polished stone, certain tiles) or impractical for your climate (wood becomes dangerously slick in shade and damp). Always factor in safety and climate alongside aesthetics.
Using cheap or insufficient edging Edging is what keeps everything in place long-term. Flimsy plastic edging that snaps within a year isn’t worth the saving. Metal or thick timber edging pays for itself in durability.
Not considering the whole journey Think about where the path starts and where it ends. A path that begins abruptly in the middle of a lawn, or terminates awkwardly with no defined destination, feels unfinished. Connect meaningful points — the gate, a seating area, the shed, the back door.
Garden Path Design Comparison: Formal vs. Informal
| Feature | Formal Path | Informal Path |
|---|---|---|
| Shape | Straight lines, geometric | Curved, organic |
| Materials | Brick, cut stone, concrete pavers | Gravel, stepping stones, bark |
| Planting | Clipped hedges, structured borders | Cottage planting, groundcover creepers |
| Maintenance | Regular edging needed | More relaxed upkeep |
| Best for | Traditional, contemporary gardens | Cottage, woodland, naturalistic gardens |
| Cost | Medium–High | Low–Medium |
Both approaches are valid. The best choice is whatever fits the overall character of your outdoor space.
Conclusion
Great garden path ideas don’t have to be complicated or expensive. What matters most is that your path feels intentional — that it suits your garden’s style, handles the practical demands of everyday use, and invites people to actually walk through the space and enjoy it.
From a simple stepping stone trail through the lawn to an elegant herringbone brick path flanked by lavender, the options are genuinely vast. Start with what appeals to you visually, then work backwards through material choices, budget, and practicality.
The most satisfying garden paths are the ones that make you want to slow down — to notice the planting on either side, hear the crunch of gravel underfoot, and feel like you’re somewhere worth being.
Ready to get started? Grab some garden canes, mark out your route, and begin. The first step is always the most important one
Frequently Asked Questions
Q1: What is the cheapest material for a garden path?
Bark chips, wood mulch, and pea gravel are consistently the most affordable options. A basic gravel path can be laid for as little as $1–$2 per square foot in materials. These options also happen to be the easiest to install yourself, which saves even more on labor costs.
Q2: How wide should a garden path be?
For a comfortable single-file path, aim for at least 18 inches wide. For two people to walk side by side, 36 inches is a good minimum. Paths to key areas like a back door or garden gate benefit from being on the wider end — around 36 to 48 inches — to feel generous and welcoming.
Q3: How do I stop weeds growing through my garden path?
The most effective method is laying a woven weed membrane beneath the surface material before installation. For paths already in place, a commercial path weedkiller can be applied periodically, or you can use a patio weeder to remove plants by hand from the joints. Low groundcover plants between stepping stones can also crowd out weeds naturally.
Q4: Can I lay a garden path myself without professional help?
Absolutely. Gravel paths, stepping stone paths, and bark chip paths are all very manageable DIY projects requiring minimal tools. Brick and paver paths take a bit more effort and care with leveling, but are still very achievable for a motivated beginner with a free weekend. Natural stone flagging is the most challenging to DIY due to irregular shapes and heavier materials.
Q5: How do I make a garden path look more attractive?
A few things make the biggest difference: soft planting along the edges, good lighting after dark, a slight curve rather than a rigid straight line, and mixing textures. Even a simple gravel path becomes significantly more beautiful when edged with lavender or catmint spilling over the sides.
Q6: What should I put under a gravel garden path?
Always lay a weed-suppressing membrane directly on leveled soil before adding gravel. This prevents weeds from growing up through the gravel and also stops the gravel from sinking into the soil over time. A 2 to 3 inch depth of gravel on top of the membrane gives a satisfying, stable surface to walk on.
Q7: Which garden path material lasts the longest?
Natural stone and quality concrete pavers are the most durable options — both can last 30 to 50 years or more with minimal maintenance. Brick is also very long-lasting, particularly when laid on a proper sub-base. Organic materials like bark chip and wood rounds have shorter lifespans of 3 to 7 years before needing replenishment or replacement.