Budget Kitchen Cabinet Makeover Ideas That Work

Budget Kitchen Cabinet Makeover Ideas That Work

A full kitchen renovation can easily run into the tens of thousands, but your cabinets don’t have to stay stuck in 2005 while you save up for one. These budget kitchen cabinet makeover ideas prove you can transform the heart of your home for a fraction of the cost of a total remodel.
From simple paint jobs to clever hardware swaps, there’s a solution here no matter how tight your budget is or how much time you can realistically spare.
Why a Cabinet Makeover Delivers Big Returns
Cabinets take up more visual space in a kitchen than almost anything else. That means updating them has an outsized effect on how the whole room feels.
Unlike countertops or appliances, cabinets can often be refreshed rather than fully replaced, which keeps costs dramatically lower.
A smart cabinet makeover can:
- Instantly modernize a dated kitchen
- Increase your home’s perceived value
- Avoid the mess and expense of a full renovation
- Be done in stages as your budget allows
This is exactly why so many homeowners start their kitchen refresh here before touching anything else.
Popular Budget-Friendly Cabinet Makeover Methods
There isn’t just one way to refresh your cabinets. Your best option depends on your current cabinet condition, your timeline, and your comfort with DIY projects.
Repainting Existing Cabinets
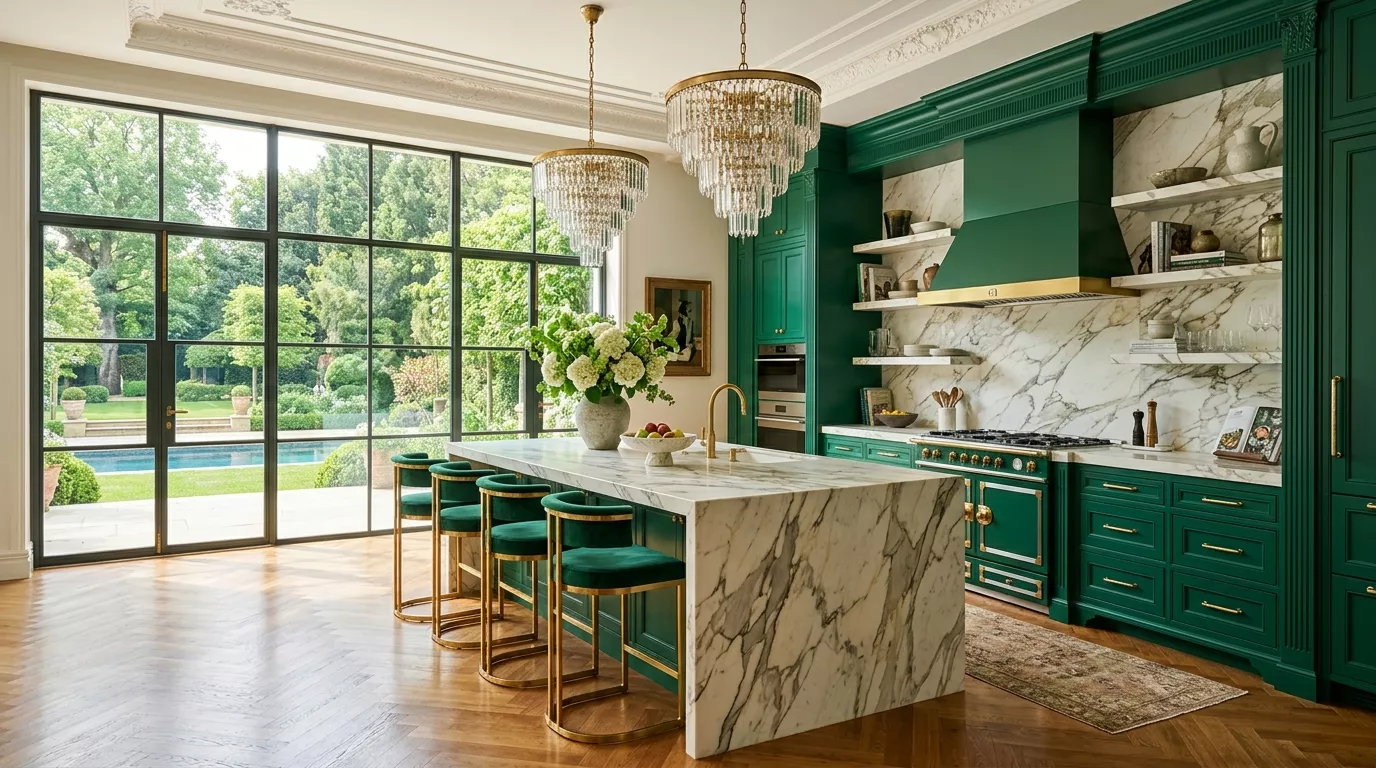
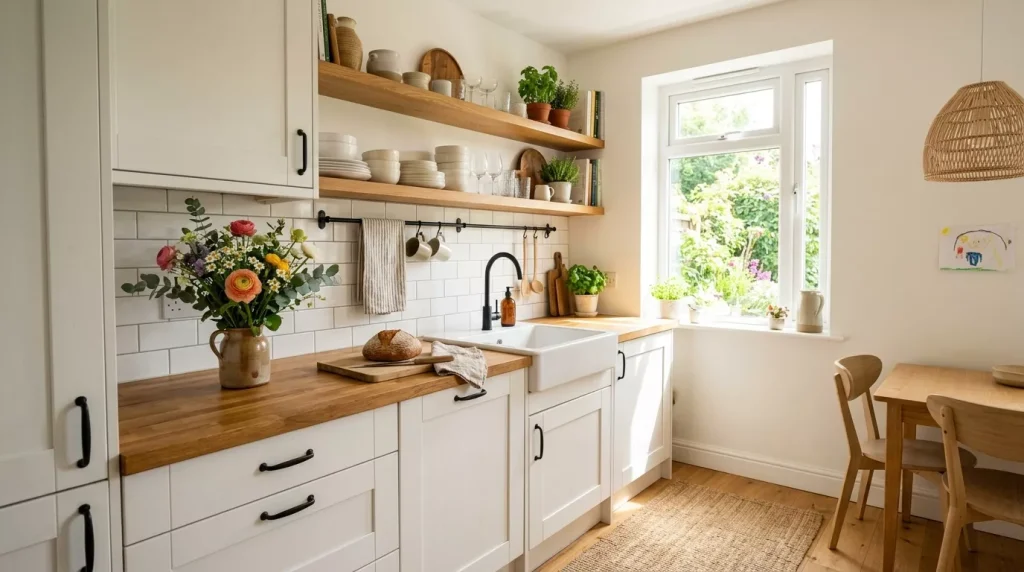
This is the most popular and cost-effective option by far. A good primer and quality paint can completely transform outdated wood tones or worn finishes.
It works especially well on solid wood cabinets, though it can also be done on laminate with the right prep and products.
Refacing Cabinet Doors
Refacing involves keeping your existing cabinet boxes but replacing just the doors and drawer fronts. This gives you a new look without the cost of full cabinet replacement.
It’s a great middle-ground option if your cabinet boxes are structurally sound but the doors look tired.
Swapping Hardware
Sometimes the cheapest, fastest update is simply changing the knobs and pulls. New hardware can modernize a kitchen almost instantly.
This works especially well when paired with a fresh coat of paint, since old hardware can make even a beautifully painted cabinet look dated.
Adding Trim or Molding
Builder-grade flat-panel cabinets often lack character. Adding simple trim or molding to the cabinet faces creates a custom, higher-end look for relatively little cost.

This technique works particularly well on plain, boxy cabinet styles common in older homes.
Open Shelving Conversion
Removing a few cabinet doors and converting that section to open shelving is a trendy, budget-friendly way to break up a wall of solid cabinetry.
It also creates a spot to display dishes or decor, adding personality without spending much at all.
Step-by-Step Guide to a DIY Cabinet Makeover
Here’s a straightforward process for a classic paint-based cabinet refresh, the most common budget approach.
Step 1: Set a Realistic Budget and Timeline
Decide upfront how much you’re willing to spend on paint, supplies, and any hardware upgrades. Painting cabinets properly takes longer than most people expect, often several days including drying time.
Step 2: Remove Doors and Hardware
Take off all cabinet doors, drawer fronts, and hardware before starting. Label each piece so everything goes back in the right place later.
This single step makes the entire painting process significantly easier and more professional-looking.

Step 3: Clean and Sand Thoroughly
Kitchen cabinets accumulate grease and grime over time, even if they look clean. Wipe everything down with a degreasing cleaner, then lightly sand surfaces to help paint adhere properly.
Step 4: Apply a Quality Primer
Skipping primer is one of the biggest reasons DIY cabinet paint jobs fail early. A bonding primer designed for cabinets or laminate surfaces creates a durable base coat.
Step 5: Paint in Thin, Even Coats
Apply two to three thin coats rather than one thick coat, allowing proper drying time between each. This prevents drips and creates a smoother, more professional finish.
Step 6: Add New Hardware and Reassemble
Once everything is fully cured, add your new or existing hardware and reattach doors and drawer fronts. Take your time here to ensure everything is level and properly aligned.
Cabinet Makeover Method Comparison
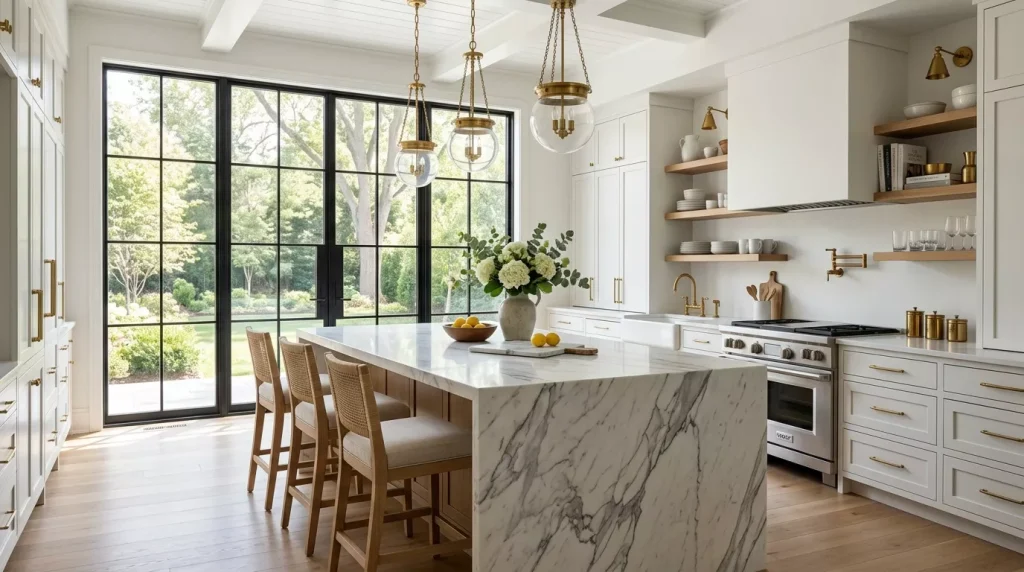
| Method | Typical Cost Level | Time Required | Skill Level Needed |
|---|---|---|---|
| Repainting | Low | Moderate | Beginner to Intermediate |
| Refacing | Moderate | Moderate to High | Intermediate |
| Hardware Swap | Very Low | Low | Beginner |
| Adding Trim | Low to Moderate | Moderate | Intermediate |
| Open Shelving Conversion | Low | Low | Beginner |
If you’re working with a very tight budget and limited time, a hardware swap combined with repainting usually delivers the biggest visible change for the lowest cost.
Pros and Cons of Common Cabinet Makeover Approaches
Repainting Cabinets
Pros:
- Dramatically changes the kitchen’s overall look
- Much cheaper than full cabinet replacement
- Wide range of color options to match any style

Cons:
- Time-consuming if done properly
- Requires careful prep work to avoid a sloppy finish
- May need touch-ups over time with heavy use
Refacing Cabinet Doors
Pros:
- Keeps existing cabinet boxes, reducing waste and cost
- Gives a more substantial style update than paint alone
- Can address outdated door styles specifically
Cons:
- More expensive than a simple paint job
- Often requires professional help for best results
- Limited by existing cabinet box dimensions
Hardware Swaps
Pros:

- Extremely affordable and quick to complete
- Easy to change again later if styles evolve
- Requires minimal tools or skill
Cons:
- Limited impact on its own without other updates
- New hardware may not cover old screw holes perfectly
- Doesn’t address dated cabinet color or finish
Budget-Friendly Color and Style Ideas Worth Trying
Once you’ve chosen your makeover method, color and style choices bring the transformation to life.
- Soft white or cream for a timeless, brightening effect in any kitchen.
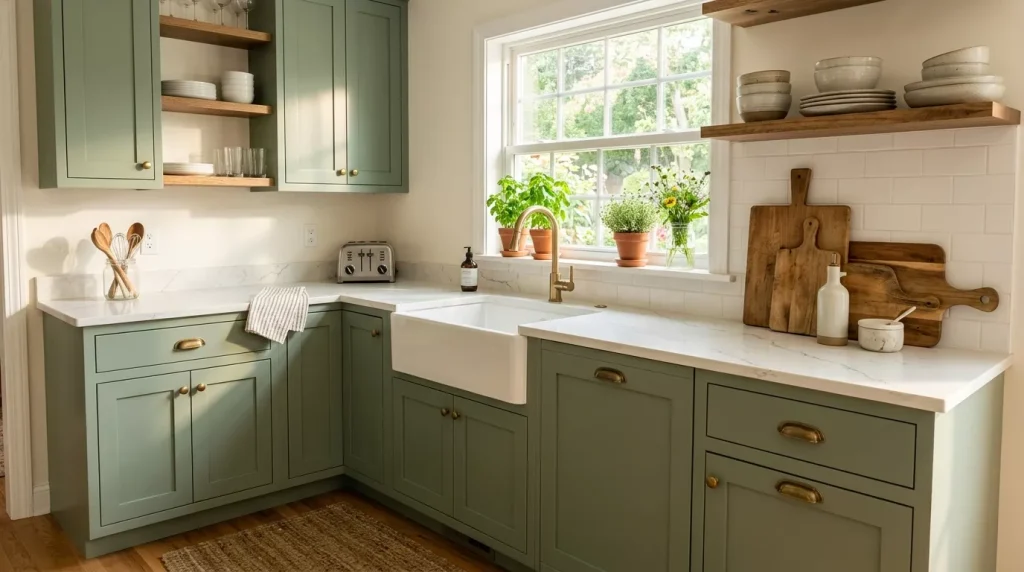
- Sage or olive green for an on-trend, nature-inspired look.
- Navy lower cabinets with white uppers for a classic two-tone contrast.
- Matte black hardware paired with light cabinet colors for modern contrast.
- Warm wood-tone stain as an alternative to paint for a more natural finish.
- Textured cabinet paint to mimic a slightly more custom, higher-end look.
Tips for a Smooth Budget Cabinet Makeover
A few extra pointers to help the project go smoothly:

- Work in a well-ventilated area, especially when painting or priming.
- Set up a dedicated drying station away from foot traffic to avoid smudges.
- Buy slightly more paint than your calculated estimate to avoid running short mid-project.
- Test your chosen color on a small, hidden cabinet section first.
- Replace cabinet door hinges if they’re old or squeaky while everything is already disassembled.
Common Mistakes to Avoid During a Cabinet Makeover
Even simple, budget-friendly projects can go sideways without a bit of planning.
- Skipping proper cleaning and sanding. Paint won’t adhere well to greasy or glossy surfaces.
- Rushing the drying time between coats. This often leads to tackiness or peeling later.
- Choosing cheap paint to save money. Low-quality paint tends to chip faster, costing more in touch-ups over time.
- Forgetting to label doors and hardware. This creates unnecessary confusion during reassembly.
- Ignoring hardware placement holes. New hardware with a different spacing than the old pieces can leave visible gaps.
Final Thoughts: Refreshing Your Kitchen Without a Full Renovation
At the end of the day, the best budget kitchen cabinet makeover ideas are the ones that fit your specific space, timeline, and comfort level with DIY projects. You don’t need a full remodel to fall back in love with your kitchen.
Start with a plan, choose the method that matches your budget and skill level, and take your time with the prep work, since that’s what truly determines the final result.

Once your cabinets are refreshed, the rest of your kitchen will likely feel more current too, all without the cost or chaos of a complete renovation.
Ready to get started? Pick one cabinet makeover idea from this guide and set a weekend aside to bring it to life.
Frequently Asked Questions
1. What is the cheapest way to update kitchen cabinets?
Swapping out hardware and applying a fresh coat of paint is typically the most affordable combination for a noticeable, budget-friendly transformation.
2. Can I paint laminate kitchen cabinets myself?
Yes, with the right bonding primer designed for laminate surfaces, laminate cabinets can be successfully painted for a fraction of replacement cost.
3. How long does a DIY cabinet painting project usually take?
Most DIY cabinet painting projects take three to five days when accounting for cleaning, priming, multiple coats, and proper drying time between steps.
4. Is cabinet refacing cheaper than full replacement?
Yes, refacing is generally significantly cheaper than full cabinet replacement since it reuses your existing cabinet boxes and only updates doors and fronts.
5. What paint finish works best for kitchen cabinets?
A satin or semi-gloss finish is usually recommended for kitchen cabinets, since it holds up better to cleaning and everyday wear than flat paint.
6. Do I need to remove cabinet doors to paint them well?
\ Removing doors is highly recommended, as it allows for more even coverage and a smoother, more professional-looking finish overall.
7. Can open shelving work in a small kitchen on a budget?
Yes, converting just a section of existing cabinetry to open shelving is one of the most affordable ways to add style and visual interest to a small kitchen.